⚠️
About This Content
These tips are automatically generated by an AI language model via Ollama. While the content aims to be helpful, it may contain errors or outdated information. Always verify advice against reliable sources before applying it to your projects.
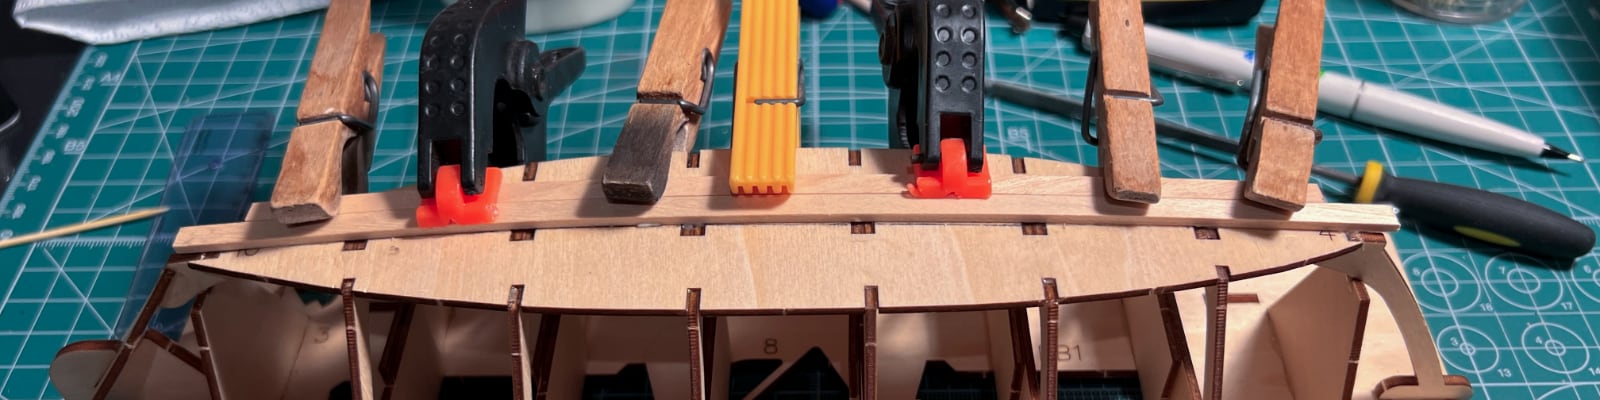
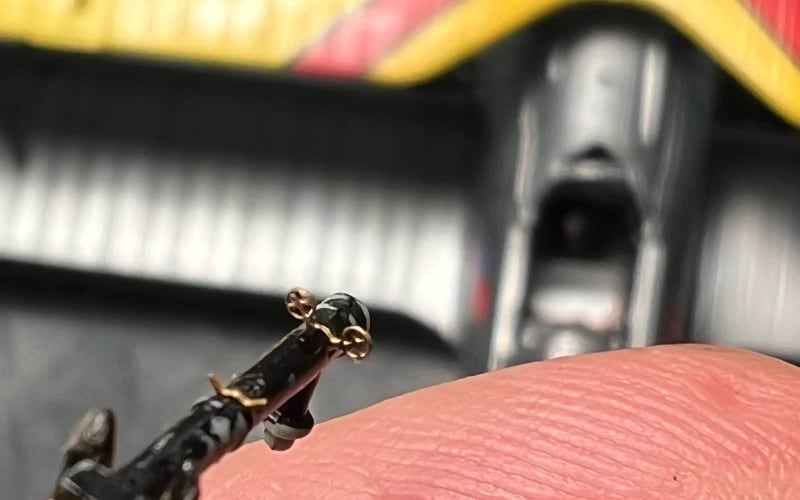
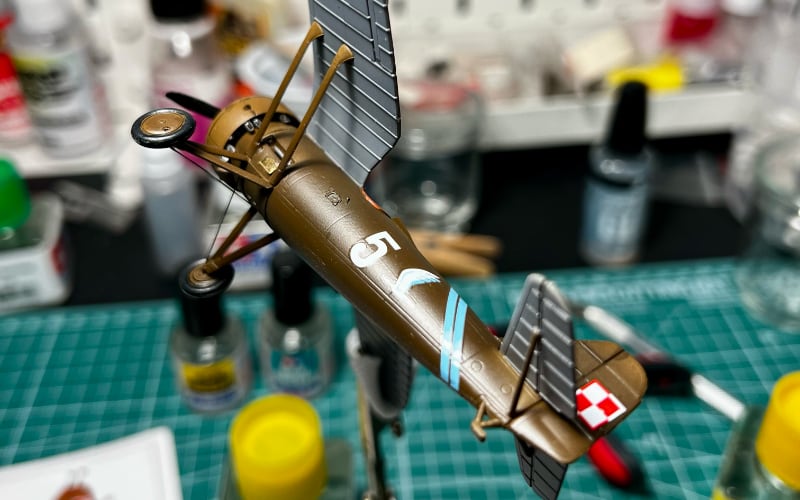
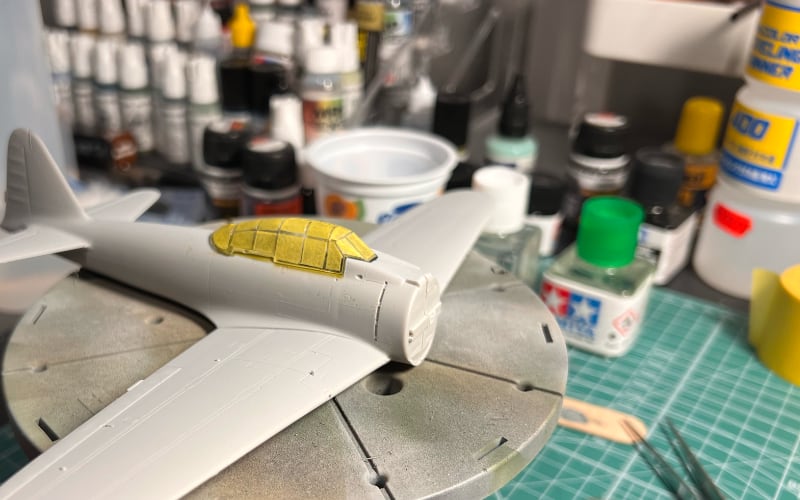
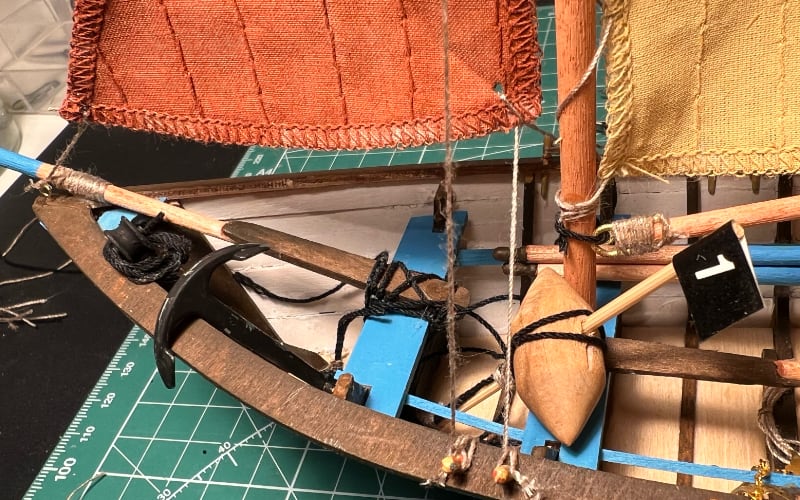
All images are original photographs taken by the project creator from actual scale models. However, the card images may not necessarily illustrate the specific tip on that card — they are selected randomly from the available photo collection for visual variety.
1
Selecting the Right Paint for Acrylic vs Enamel
For airbrushing, Tamiya Acrylics (Item 87002) offer excellent coverage and drying time, ideal for base coats. For enamel, use AMMO by Mig Jimenez Enamel (Item 21007), which provides a harder finish. Enamel requires a spray gun or airbrush with 20-30 psi for even application. Acrylics can be thinned with Tami-Flow (Item 87001) to 1:3 ratio. Test on a scrap panel first. Avoid using enamel on unpainted metal parts without a primer, as it may crack. Always work in a well-ventilated area.
🔍 Search for more
2
Choosing the Best Sandpaper for Model Building
Start with 400-grit sandpaper (Tamiya 88020) for initial shaping, then 600-grit (Tamiya 88021) for smoothing. For fine details, use 1000-grit (Tamiya 88022) to avoid marring surfaces. Always sand with a firm grip and a steady motion. Wet sanding with water improves results. For stubborn scratches, use 1200-grit (Tamiya 88023) or a wet/dry sanding pad. After sanding, wipe surfaces with a damp cloth to remove dust.
🔍 Search for more
3
Using the Right Filler for Plastic Gaps
For small gaps, use Tamiya Putty (Item 88008) which dries to a hard, smooth finish. For larger gaps, apply Vallejo Plastic Putty (Item 60003) and sand with 600-grit paper. For extreme gaps, mix Super Glue with baking soda (1:1 ratio) to create a quick-drying filler. Apply with a toothpick, let dry, then sand with 1000-grit. Always test the filler on a scrap part first to avoid overfilling.
🔍 Search for more
4
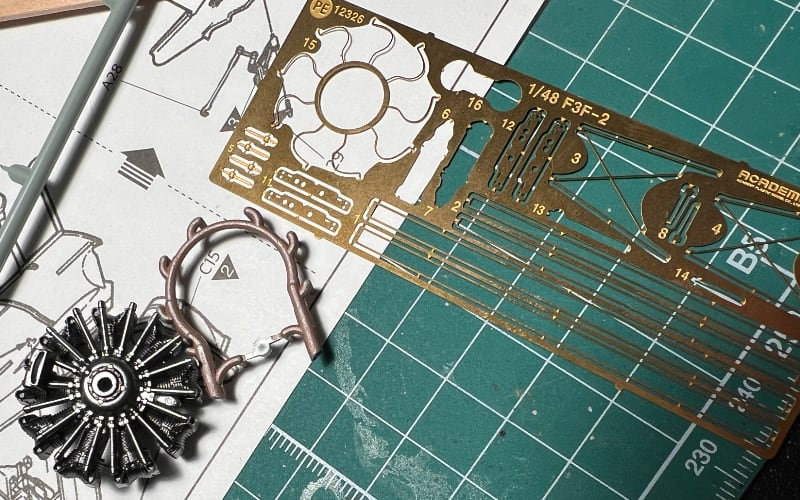
Choosing Between Photo-Etch and Resin Details
Photo-etch (PE) parts like those from ICM or Eduard are thinner and require careful bending with a PE bender (ICM 4002). Resin parts from Clear Prop Models are stiffer and can be filed with a 120-grit file. For PE, use a Tamiya plastic cement (Item 87005) to attach, while resin parts can be glued with CA (cyanoacrylate). Always keep PE parts dry and avoid bending them while wet. Resin parts may need a light sanding after assembly to remove casting lines.
🔍 Search for more
5
Selecting the Right Decal Setting Solution
For Microscale decals, use Micro Set (Item 0057) which provides a water-based solution, ideal for delicate parts. For Mr. Mark Softer (Item 0070), use it on harder surfaces like metal or plastic. Apply a thin layer with a brush, let dry 10-15 minutes, then submerge in warm water for 30 seconds to activate. Always test on a scrap panel first. For best results, apply a gloss coat before setting decals to prevent lifting.
🔍 Search for more