⚠️
About This Content
These tips are automatically generated by an AI language model via Ollama. While the content aims to be helpful, it may contain errors or outdated information. Always verify advice against reliable sources before applying it to your projects.
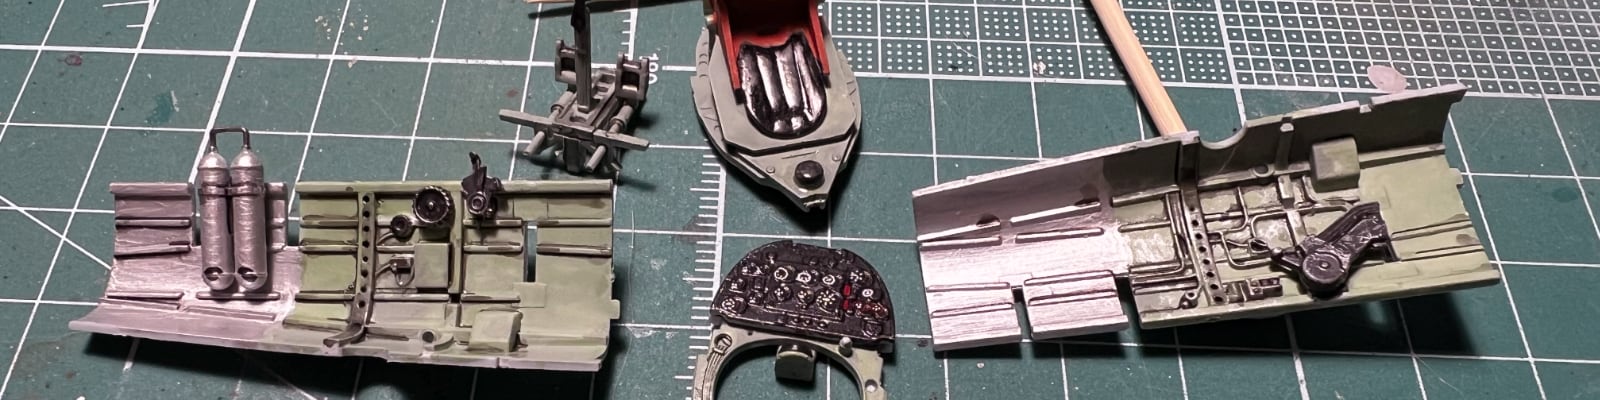
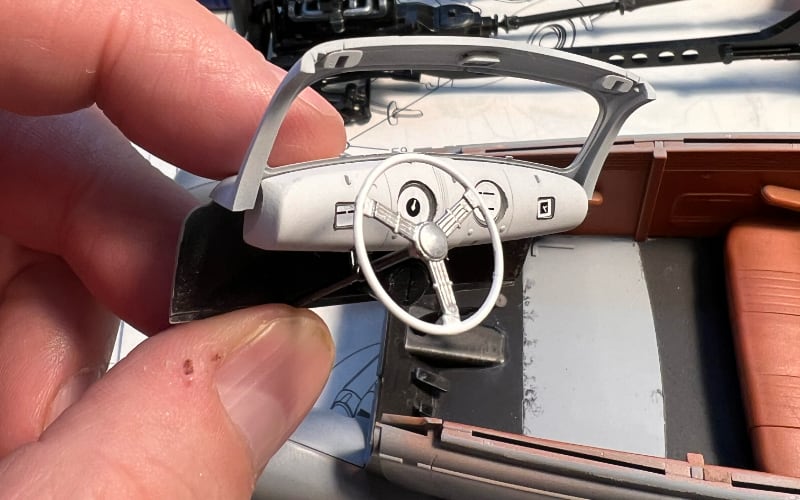
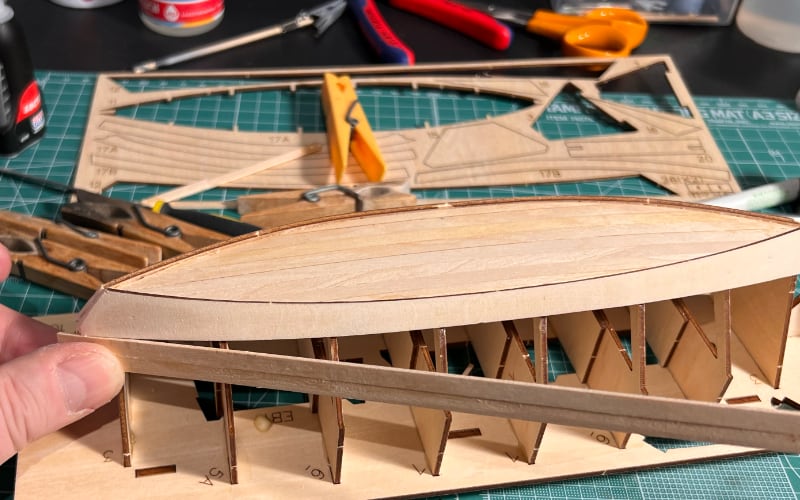
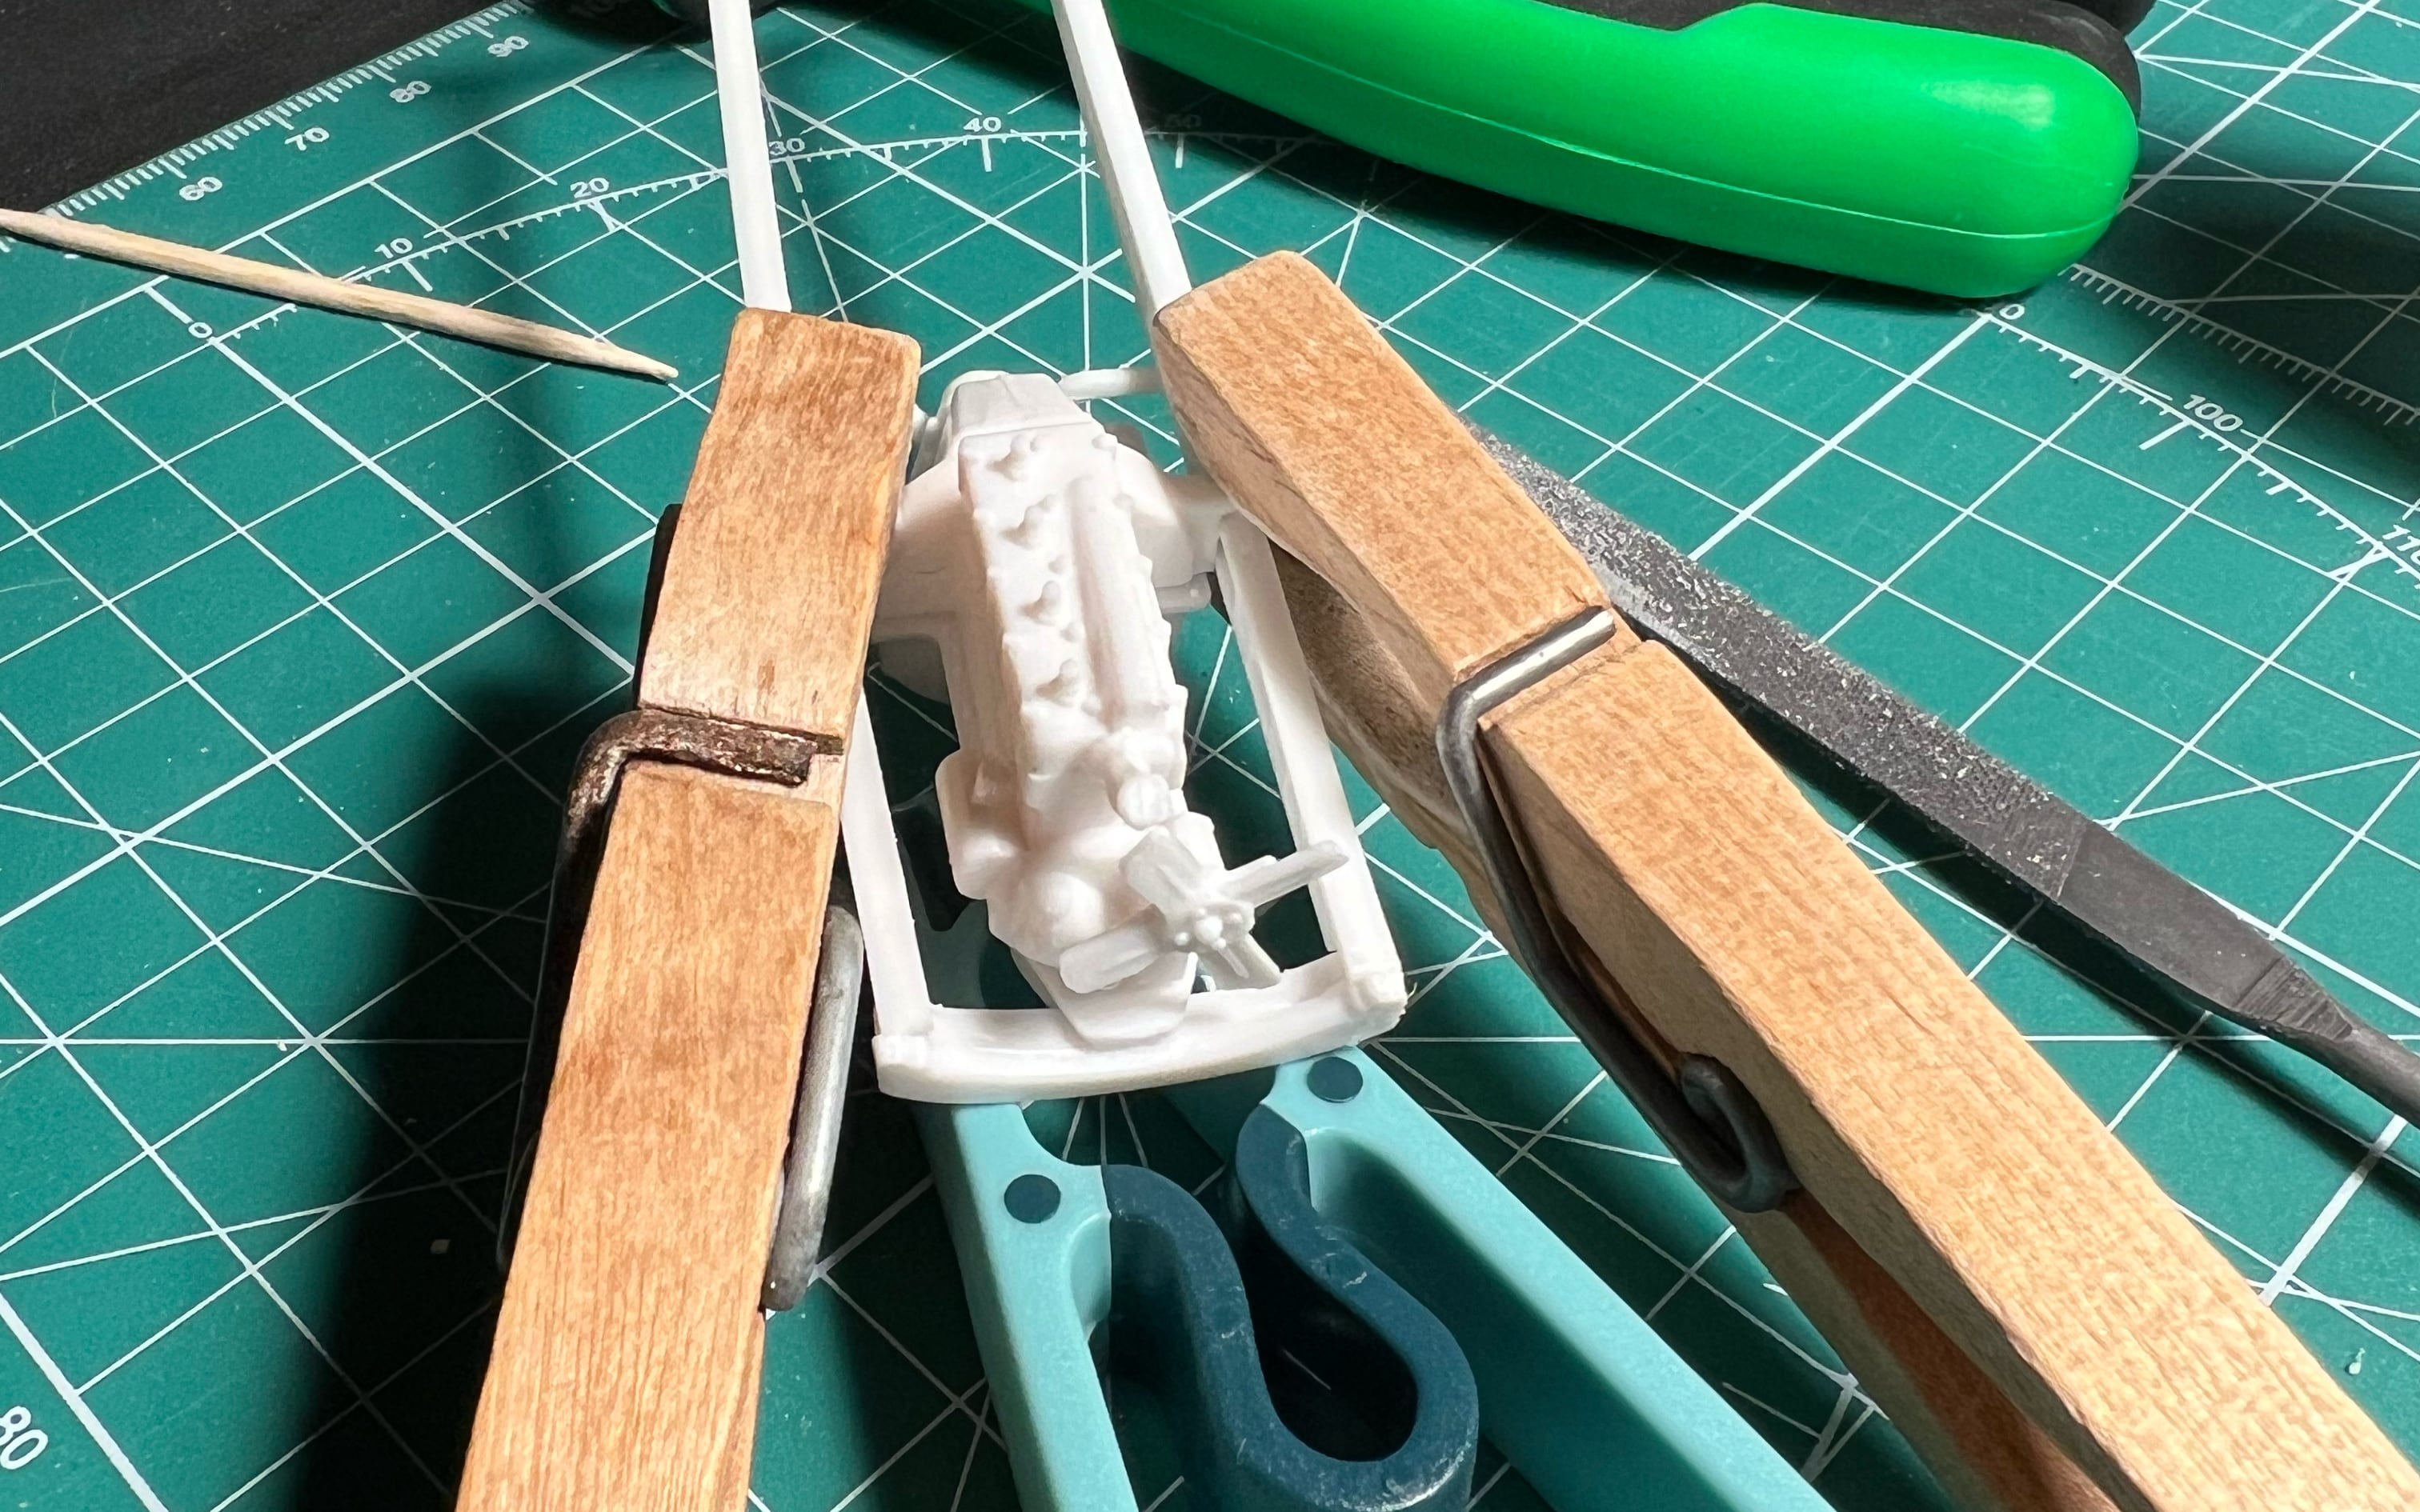
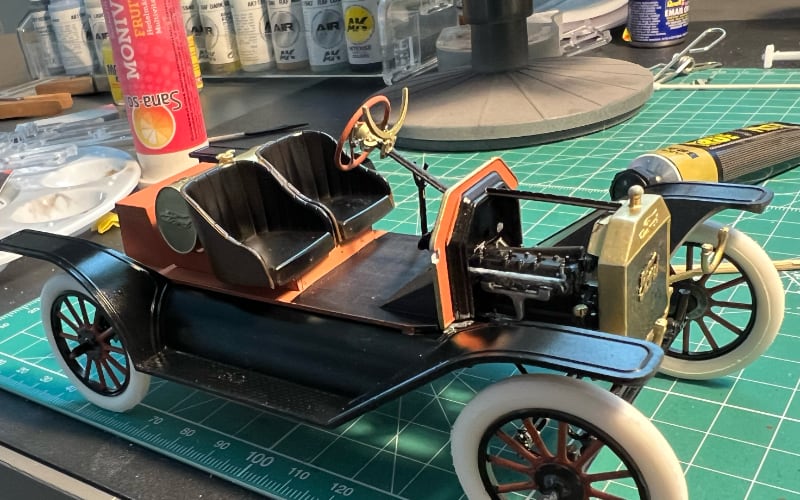
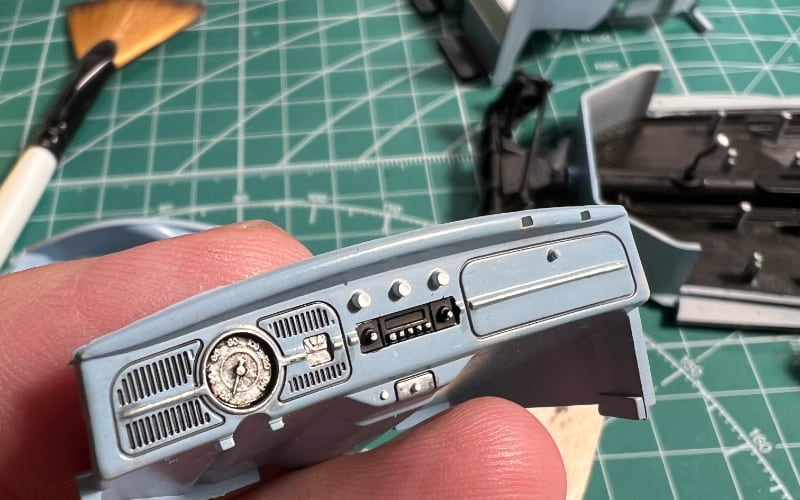
All images are original photographs taken by the project creator from actual scale models. However, the card images may not necessarily illustrate the specific tip on that card — they are selected randomly from the available photo collection for visual variety.
1
Assembling Multi-Part Gun Barrels (Trumpeter, AFV Club)
For multi-part gun barrels (e.g., Trumpeter's 1/35 88mm Flak 18/36/37, AFV Club's 1/35 75mm PaK 40), dry-fit parts first. Apply Tamiya Extra Thin Cement only where parts join. Hold parts together until set (about 15 seconds). Avoid using too much cement to prevent excess glue on barrel exterior.
🔍 Search for more
2
Using Jigs for Wing Alignment (Meng, ICM)
For wing assembly, create a jig using foam board or plastic cardstock. Align wings level with the jig's top surface. Apply Tamiya Extra Thin Cement along wing roots, using a syringe for better control. Clamp wings to jig with small clamps, ensuring no torque. Let cure for 30 minutes before removing jig.
🔍 Search for more
3
Installing Photo-Etch Parts (Eduard, Arma Hobby)
Before installing photo-etch parts, anneal them using a heat gun or oven (180°C/350°F for 20-30 minutes). This makes parts more pliable. Bending tools help shape parts precisely. Use tweezers to apply super glue (e.g., CA Glue 'Super Fast') to attach parts, applying glue only where parts meet the surface.
🔍 Search for more
4
Working with Resin Conversion Kits (Clear Prop Models)
Resin parts often require cleaning up after casting. Using a new X-Acto blade, carefully scrape away excess resin from part edges. Use a jeweler's file to smooth out rough surfaces. Drill holes for locating pins if not pre-drilled. Test fit parts before gluing with CA glue, ensuring a good fit.
🔍 Search for more
5
Assembling Tracks (Individual Link vs Vinyl vs Workable)
For individual link tracks, use Tweezers to attach links, applying CA glue sparingly. For vinyl tracks, cut to length, soak in warm water until flexible, align on the model, and let dry. For workable tracks, align on the model, pin with brass rod at regular intervals, and let dry. Paint and weather tracks before installation.
🔍 Search for more