⚠️
About This Content
These tips are automatically generated by an AI language model via Ollama. While the content aims to be helpful, it may contain errors or outdated information. Always verify advice against reliable sources before applying it to your projects.
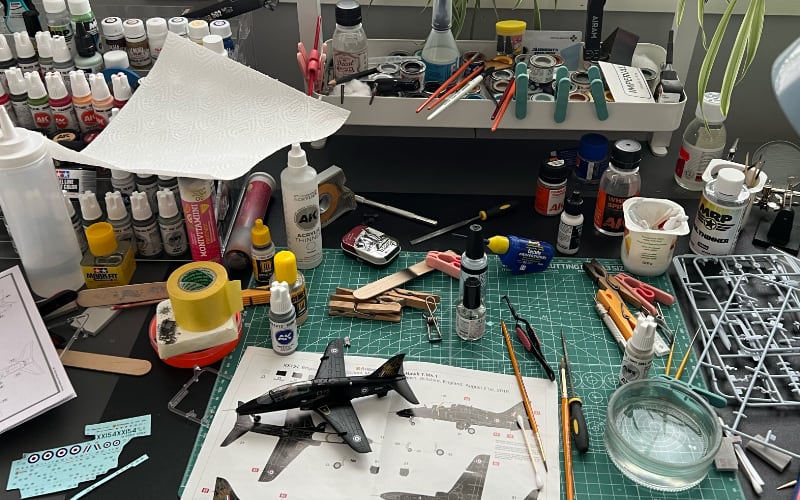
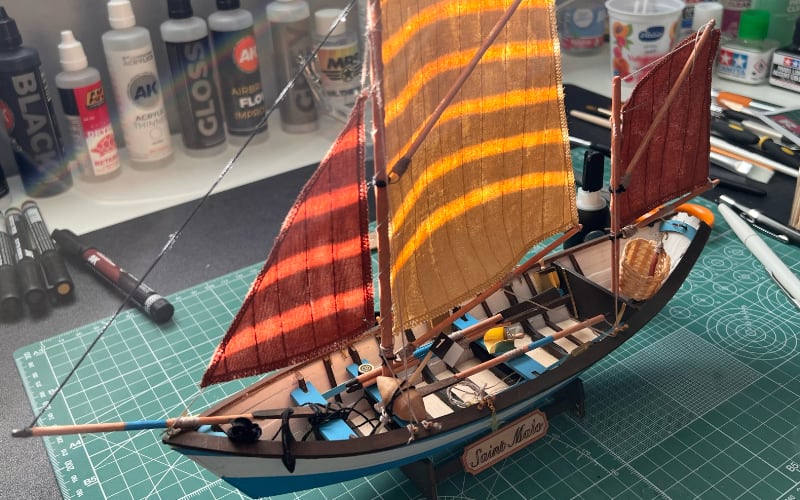
All images are original photographs taken by the project creator from actual scale models. However, the card images may not necessarily illustrate the specific tip on that card — they are selected randomly from the available photo collection for visual variety.
1
Removing Old Paint from Kits
To remove old paint from kit parts without damaging details, use a combination of alcohol and soap. Fill a small jar with warm water, add a few drops of dish soap and isopropyl alcohol. Place parts in the jar, swirl gently, then let soak for 15-30 minutes. Scrub with a soft toothbrush if needed, rinse with water, and dry. For tougher paint, use Mr. Hobby Mr. Color Thinner first, then alcohol-soap bath.
🔍 Search for more
2
Fixing Broken Photo-Etch Parts
To repair broken photo-etch parts, use CA (Cyanoacrylate) glue like Testors Clear Sil-Gel. Apply a small amount onto the broken edge using a needle or brush, press parts together quickly and hold for 30 seconds. For better alignment, use tweezers and a small clamp. Once cured, paint over the repair with a matching color to hide it.
🔍 Search for more
3
Recovering Clogged Airbrushes
To unclog a plugged airbrush nozzle, first soak it in Vallejo Airbrush Cleaner for 15 minutes. Then, gently push a needle (like a through the nozzle to clear any dried paint. If still clogged, disassemble the airbrush, soak parts in acetone for 30 minutes, then scrub with a toothbrush and rinse with water. Reassemble and test.
🔍 Search for more
4
Repairing Warped Parts
To fix warped plastic parts, place them between two pieces of glass or a flat surface. Lightly dampen a cloth with boiling water, wring it out, and place it on the warped side. Apply gentle pressure with the glass/cloth, allow cooling, then remove. For severe warping, use a hairdryer on low heat to gradually heat the warped area while applying gentle pressure.
🔍 Search for more
5
Avoiding Frost from Rattle Cans
To prevent frost from forming on models when using rattle cans, apply a thin, even coat of Mr. Hobby Mr. Leveling Thinner first, allow it to flash off for 2-3 minutes, then apply the paint. This creates a smooth, even surface for the paint to adhere to, reducing the risk of frost. Avoid painting in cold or humid conditions.
🔍 Search for more