⚠️
About This Content
These tips are automatically generated by an AI language model via Ollama. While the content aims to be helpful, it may contain errors or outdated information. Always verify advice against reliable sources before applying it to your projects.
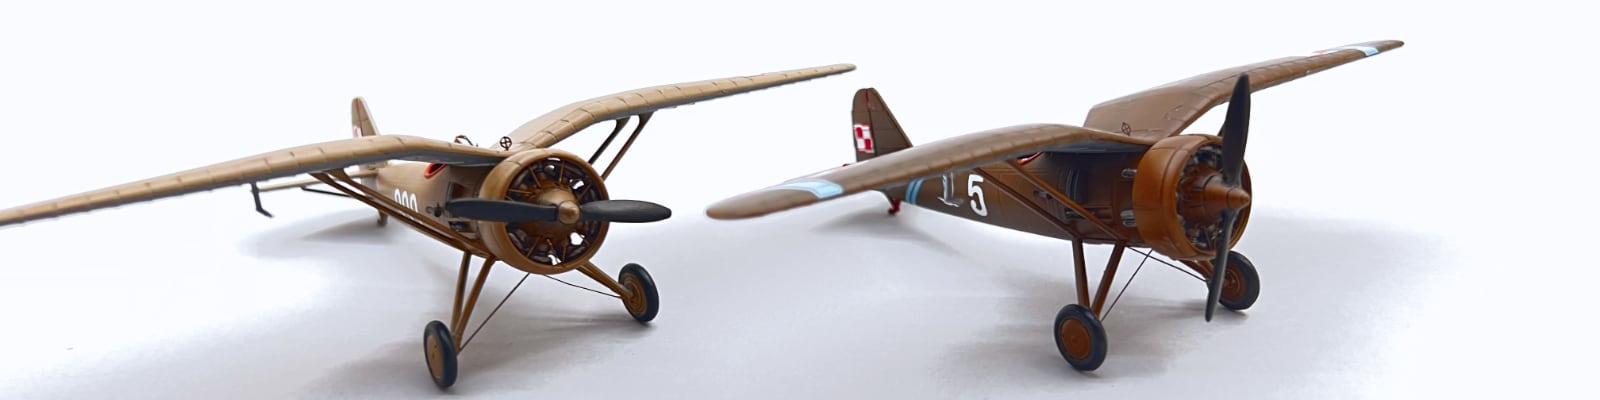
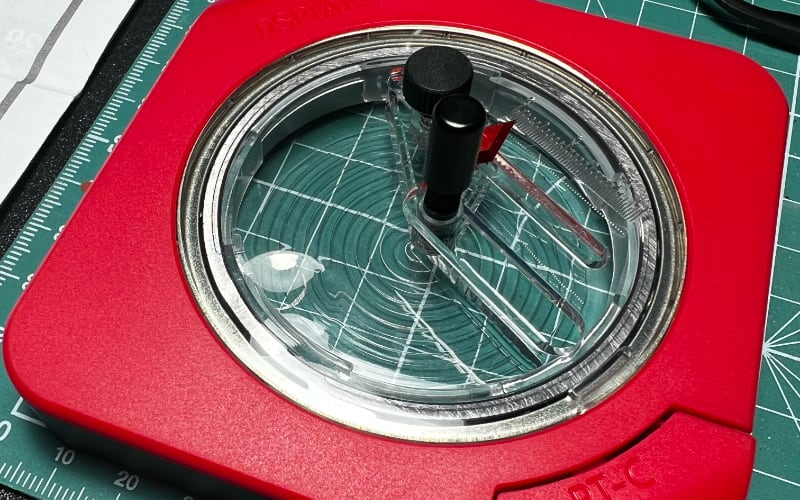
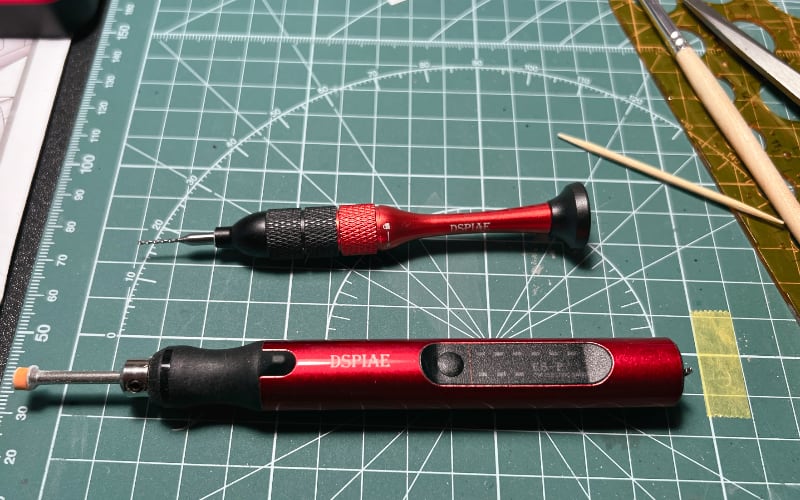
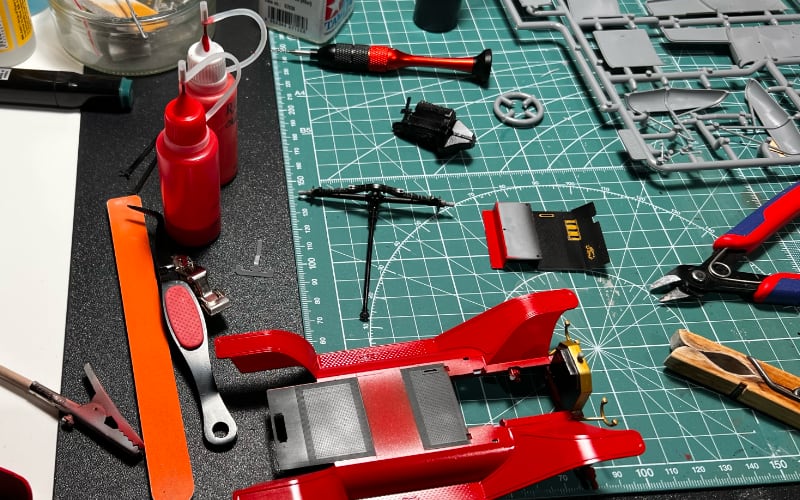
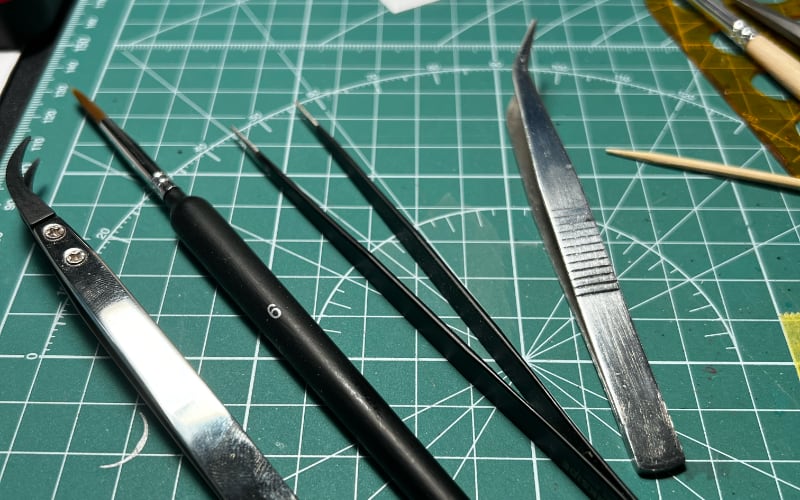
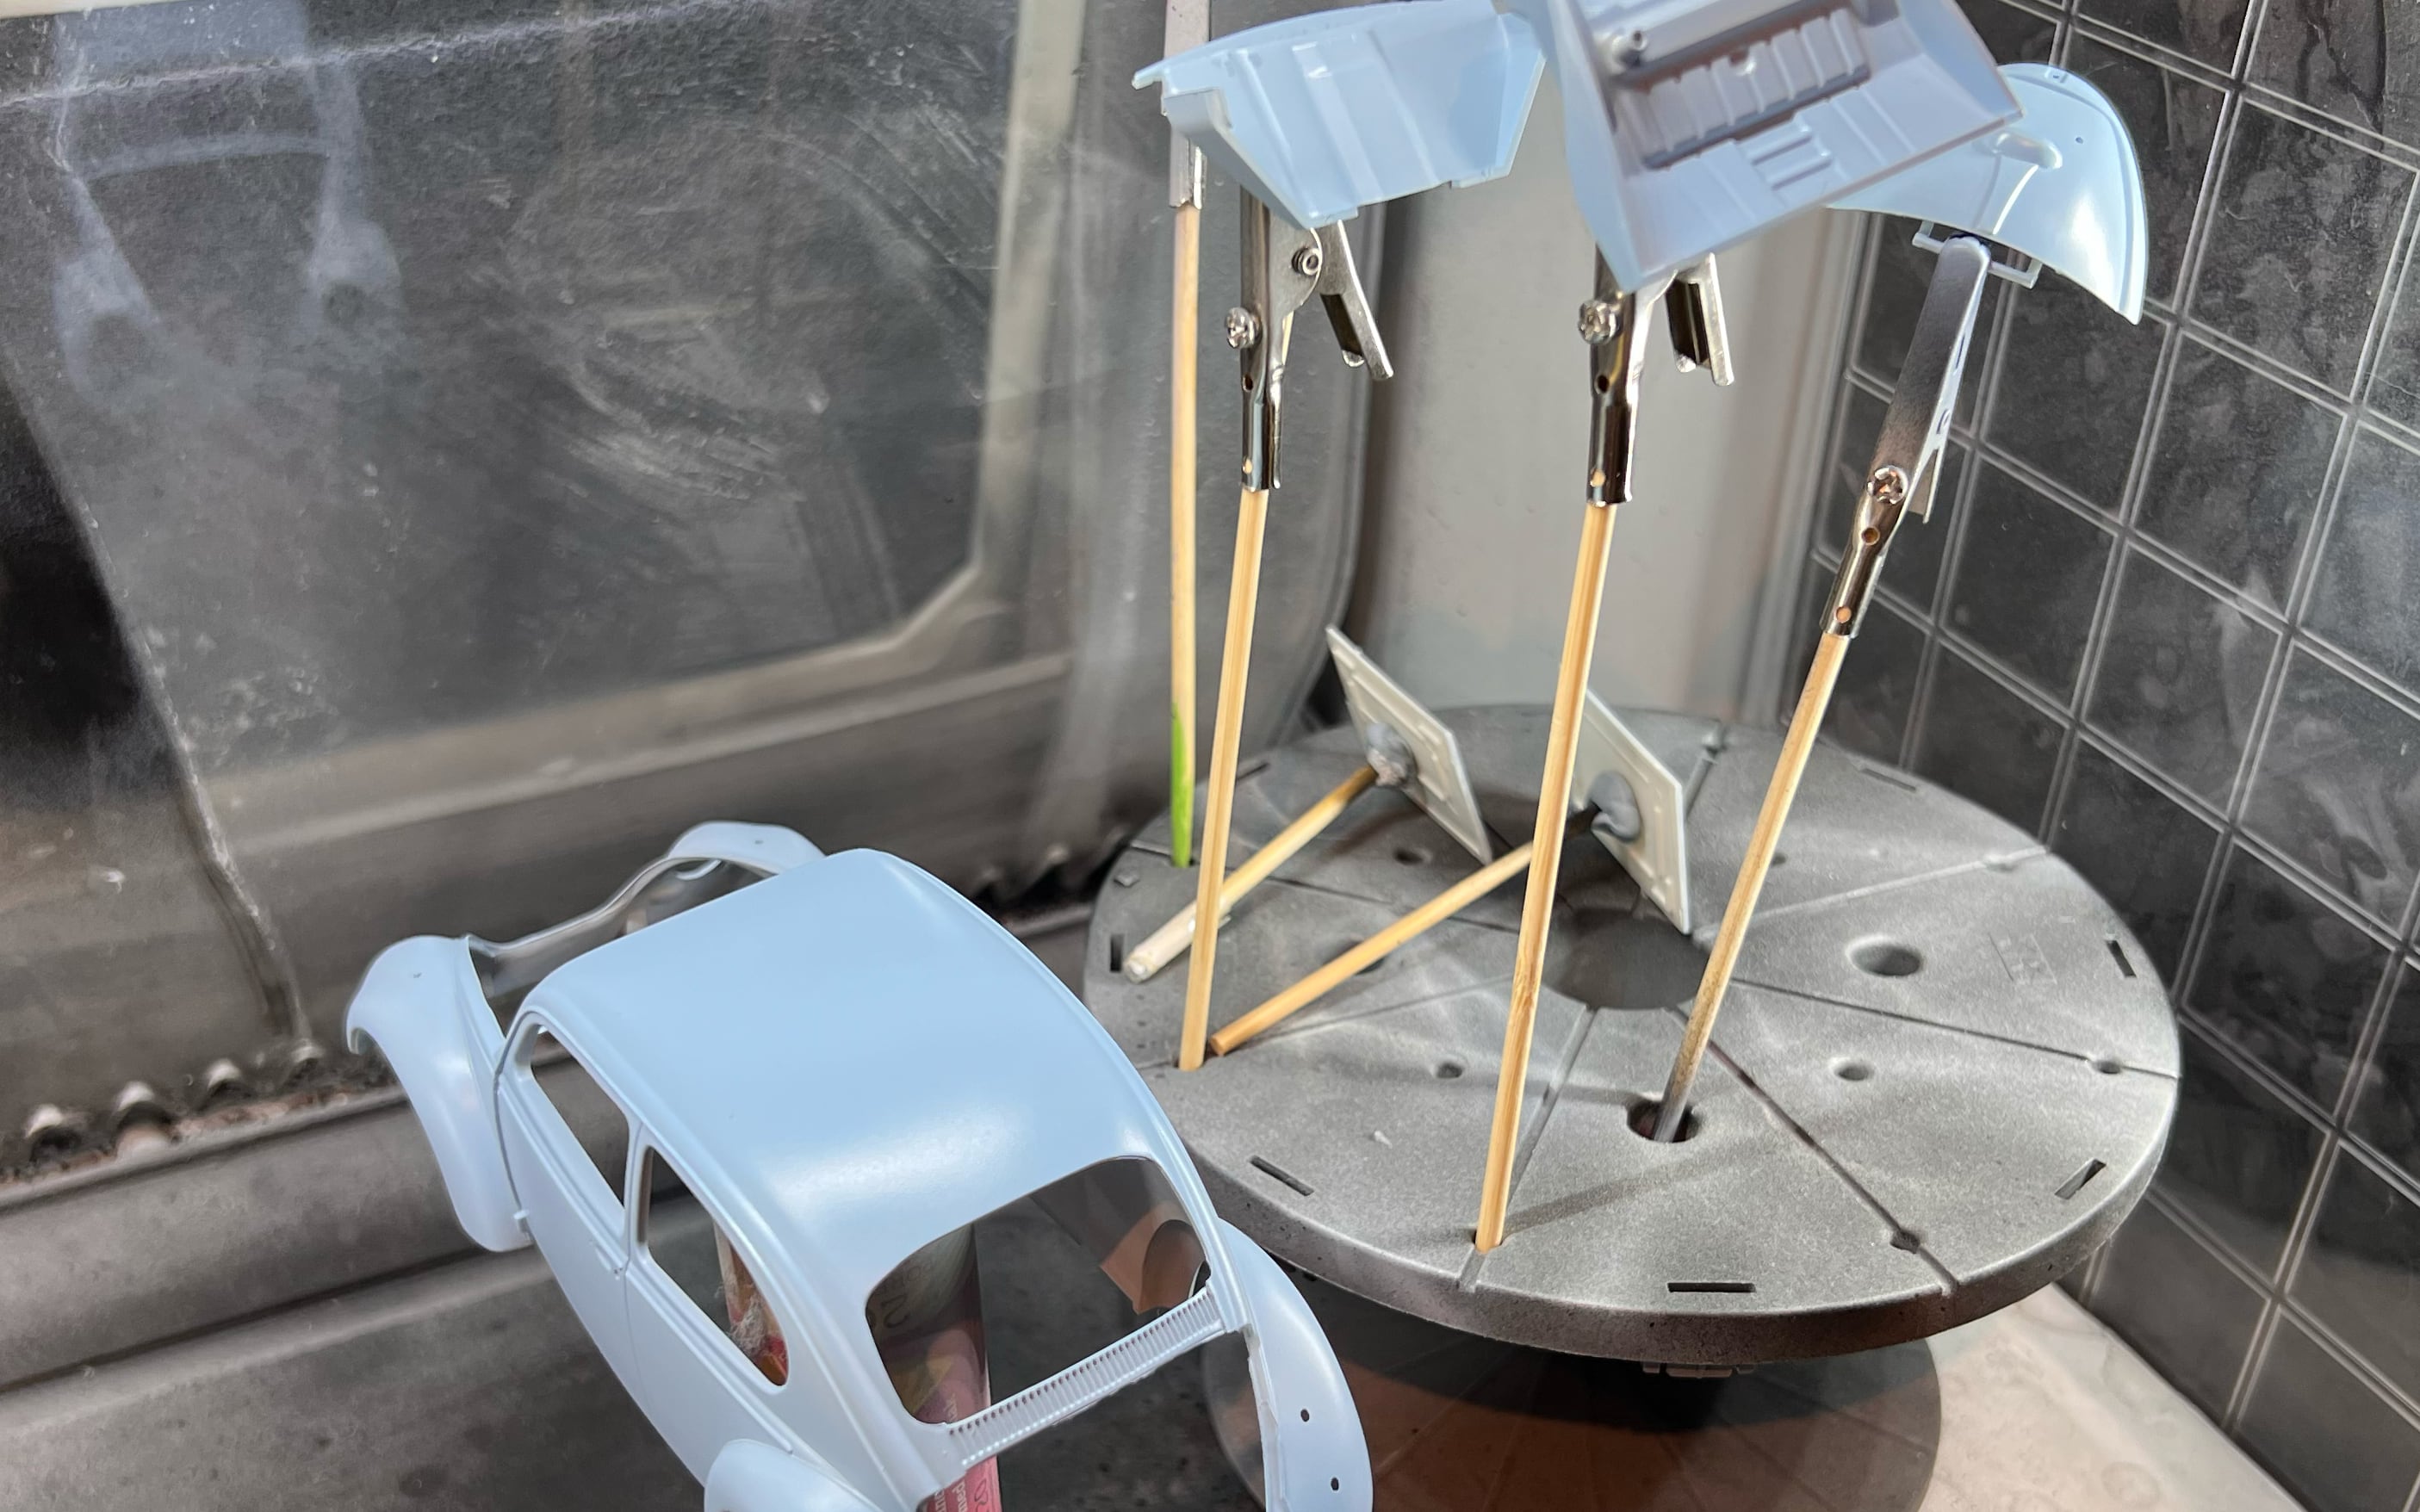
All images are original photographs taken by the project creator from actual scale models. However, the card images may not necessarily illustrate the specific tip on that card — they are selected randomly from the available photo collection for visual variety.
1
Mastering Panel Line Scribing with RB Productions Tools
For precise scribing of panel lines, use RB Productions tools. First, score the line with the 0.3mm scriber, then deepen it with the 0.5mm tool. Always keep the tools perpendicular to the surface to avoid damaging details. Apply gentle, steady pressure; never force the tool. Finish by cleaning any burrs with a stiff brush.
🔍 Search for more
2
Bending Photo-Etch with Eduard PE Bending Jigs
Eduard's PE bending jigs allow precise, controlled bending of photo-etch parts. First, soften the part with a flame or hot air. Place the part in the jig and gently close it. Apply even pressure until the part cools. Remove the part slowly. Never force the jig — it's designed to bend, not break.
🔍 Search for more
3
Cleaning Airbrush Needles with Iwata Airbrush Cleaner
Regular cleaning of airbrush needles ensures consistent performance. Soak the needle in Iwata Airbrush Cleaner for 15 minutes. Use a soft brush to scrub gently, then rinse with water. Allow it to dry completely before reassembling. This removes paint and other debris, preventing clogs.
🔍 Search for more
4
Masking with Tamiya Tape vs. Kabuki Tape
For sharp edges, use Tamiya Masking Tape. For curves and complex shapes, Kabuki Tape excels. Tamiya tape is thinner, leaving less adhesive residue, but it's harder to stretch around curves. Kabuki tape is thicker, more flexible, but leaves more adhesive. Choose based on your needs; both require a sharp, clean cut for optimal results.
🔍 Search for more
5
Sanding Sticks Progression with ICM Sanding Sticks
ICM sanding sticks come in various grits (120, 240, 400, 600) for progressive sanding. Start with 120 for coarse surface issues, progress to 240 for general smoothing, then 400 for removing finer scratches, finishing with 600 for a smooth, gloss-ready surface. Always wet sand to prevent heat buildup and maintain control.
🔍 Search for more