⚠️
About This Content
These tips are automatically generated by an AI language model via Ollama. While the content aims to be helpful, it may contain errors or outdated information. Always verify advice against reliable sources before applying it to your projects.
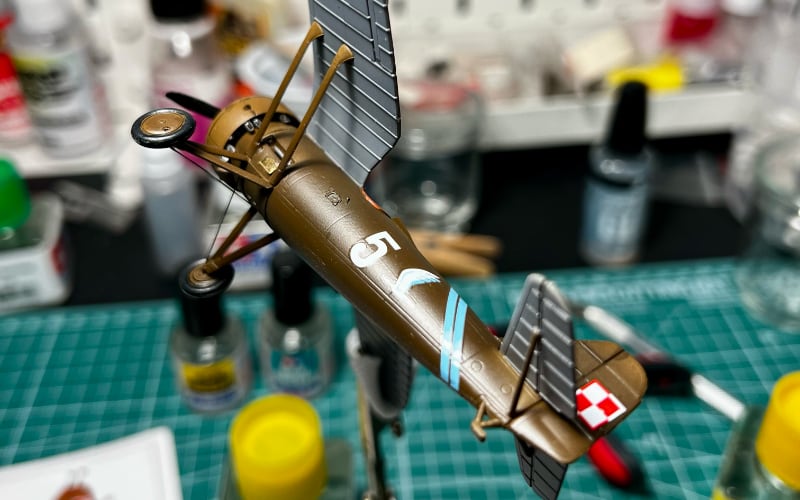
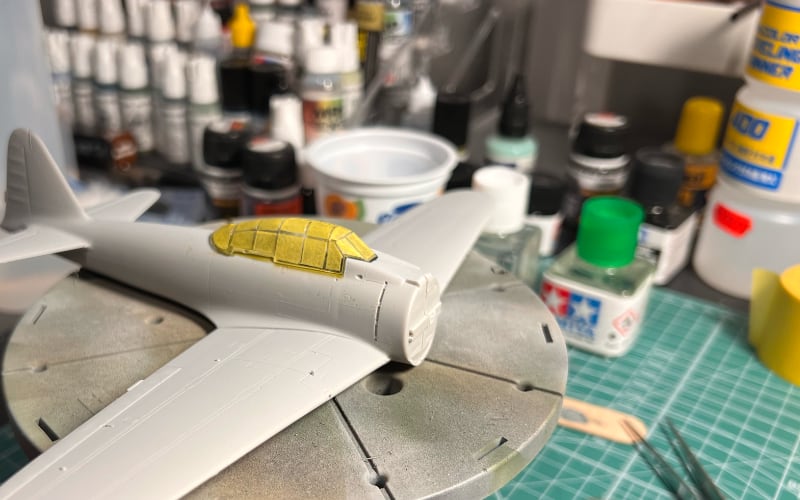
All images are original photographs taken by the project creator from actual scale models. However, the card images may not necessarily illustrate the specific tip on that card — they are selected randomly from the available photo collection for visual variety.
1
Selecting the Right Sandpaper for Each Stage
Different stages of construction require different grits of sandpaper. For initial filling of seams and gaps, use a coarse grit like 120 to 180. For smoothing surfaces after filing or sanding putty, use 220 to 320. Before painting, ensure surfaces are smooth with 400 to 600 grit. Always sand perpendicular to the direction of the panel lines to avoid damaging them. Use wet sanding with water or appropriate lubricant to minimize dust and avoid clogging.
🔍 Search for more
2
Choosing the Right Paint Type: Acrylic vs Enamel vs Lacquer
Acrylics (e.g., Vallejo Model Air, Tamiya Acrylics) are water-based, fast-drying, and easy to clean up. They're ideal for beginners and multi-color schemes. Enamels (e.g., Tamiya Acrylic Enamels) offer excellent adhesion and are great for gloss coats. Lacquers (e.g., Vallejo Gloss Varnish) are for sealing and adding shine but require thinning and careful handling. Choose based on desired finish, drying time, and application method.
🔍 Search for more
3
Filling Gaps: Vallejo Plastic Putty vs Tamiya Putty
Vallejo Plastic Putty is a versatile, thixotropic filler that stays where applied and is great for filling deep gaps or creating custom shapes. Tamiya Putty is self-leveling and perfect for thin, even coats over large areas. For best results, apply Vallejo Plastic Putty with a toothpick or brush, let it set, then sand smooth. Use Tamiya Putty sparingly, applying with a palette knife and sanding immediately.
🔍 Search for more
4
Photo-Etch vs Resin Detail Parts: When to Choose
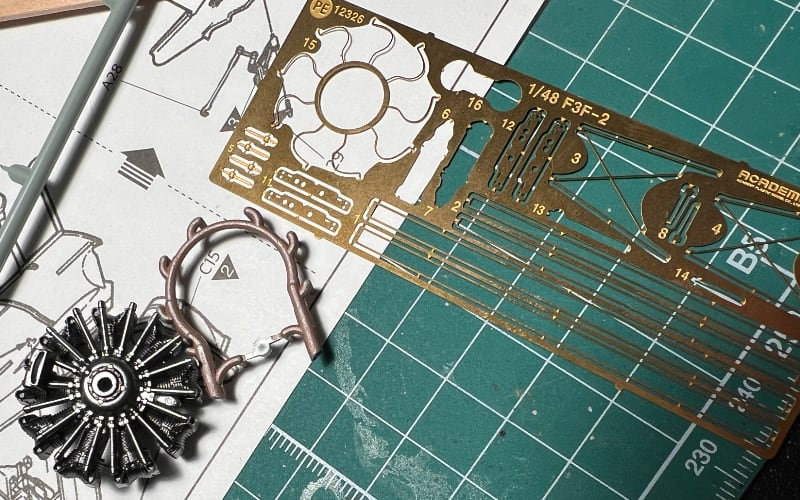
Photo-etch (e.g., Eduard, Eduard Brass) offers ultra-fine details but requires careful handling, bending, and adhering with super glue or specialty adhesives. Resin detail parts (e.g., Clear Prop Models, Arma Hobby) provide pre-shaped, ready-to-glue details but can be fragile. Choose photo-etch for intricate details and complex shapes, resin for pre-shapen parts or when photo-etch is unavailable. Always test fit and apply appropriate adhesives.
🔍 Search for more
5
Decal Setting Solutions: Micro Set/Sol vs Mr. Mark Softer
Micro Set and Micro Sol are classic decal solutions for activating and settling decals into panel lines. Micro Set softens the decal for easy positioning, while Micro Sol melts it into the panel lines. Mr. Mark Softer is a newer alternative that softens and sets decals in one step. Choose Micro Set/Sol for fine control and Micro Mark Softer for convenience. Always apply solutions sparingly with a fine brush, and let decals dry completely before handling.
🔍 Search for more