⚠️
About This Content
These tips are automatically generated by an AI language model via Ollama. While the content aims to be helpful, it may contain errors or outdated information. Always verify advice against reliable sources before applying it to your projects.
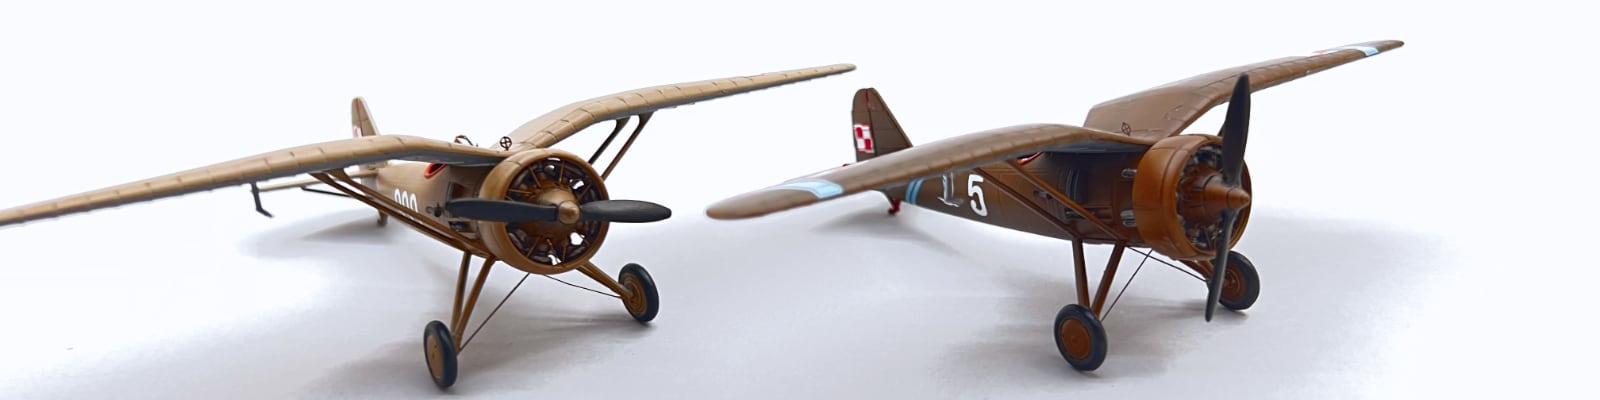
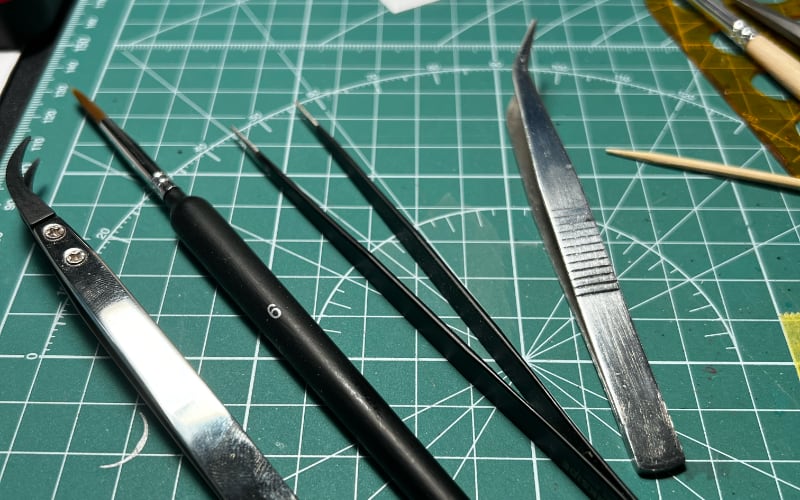
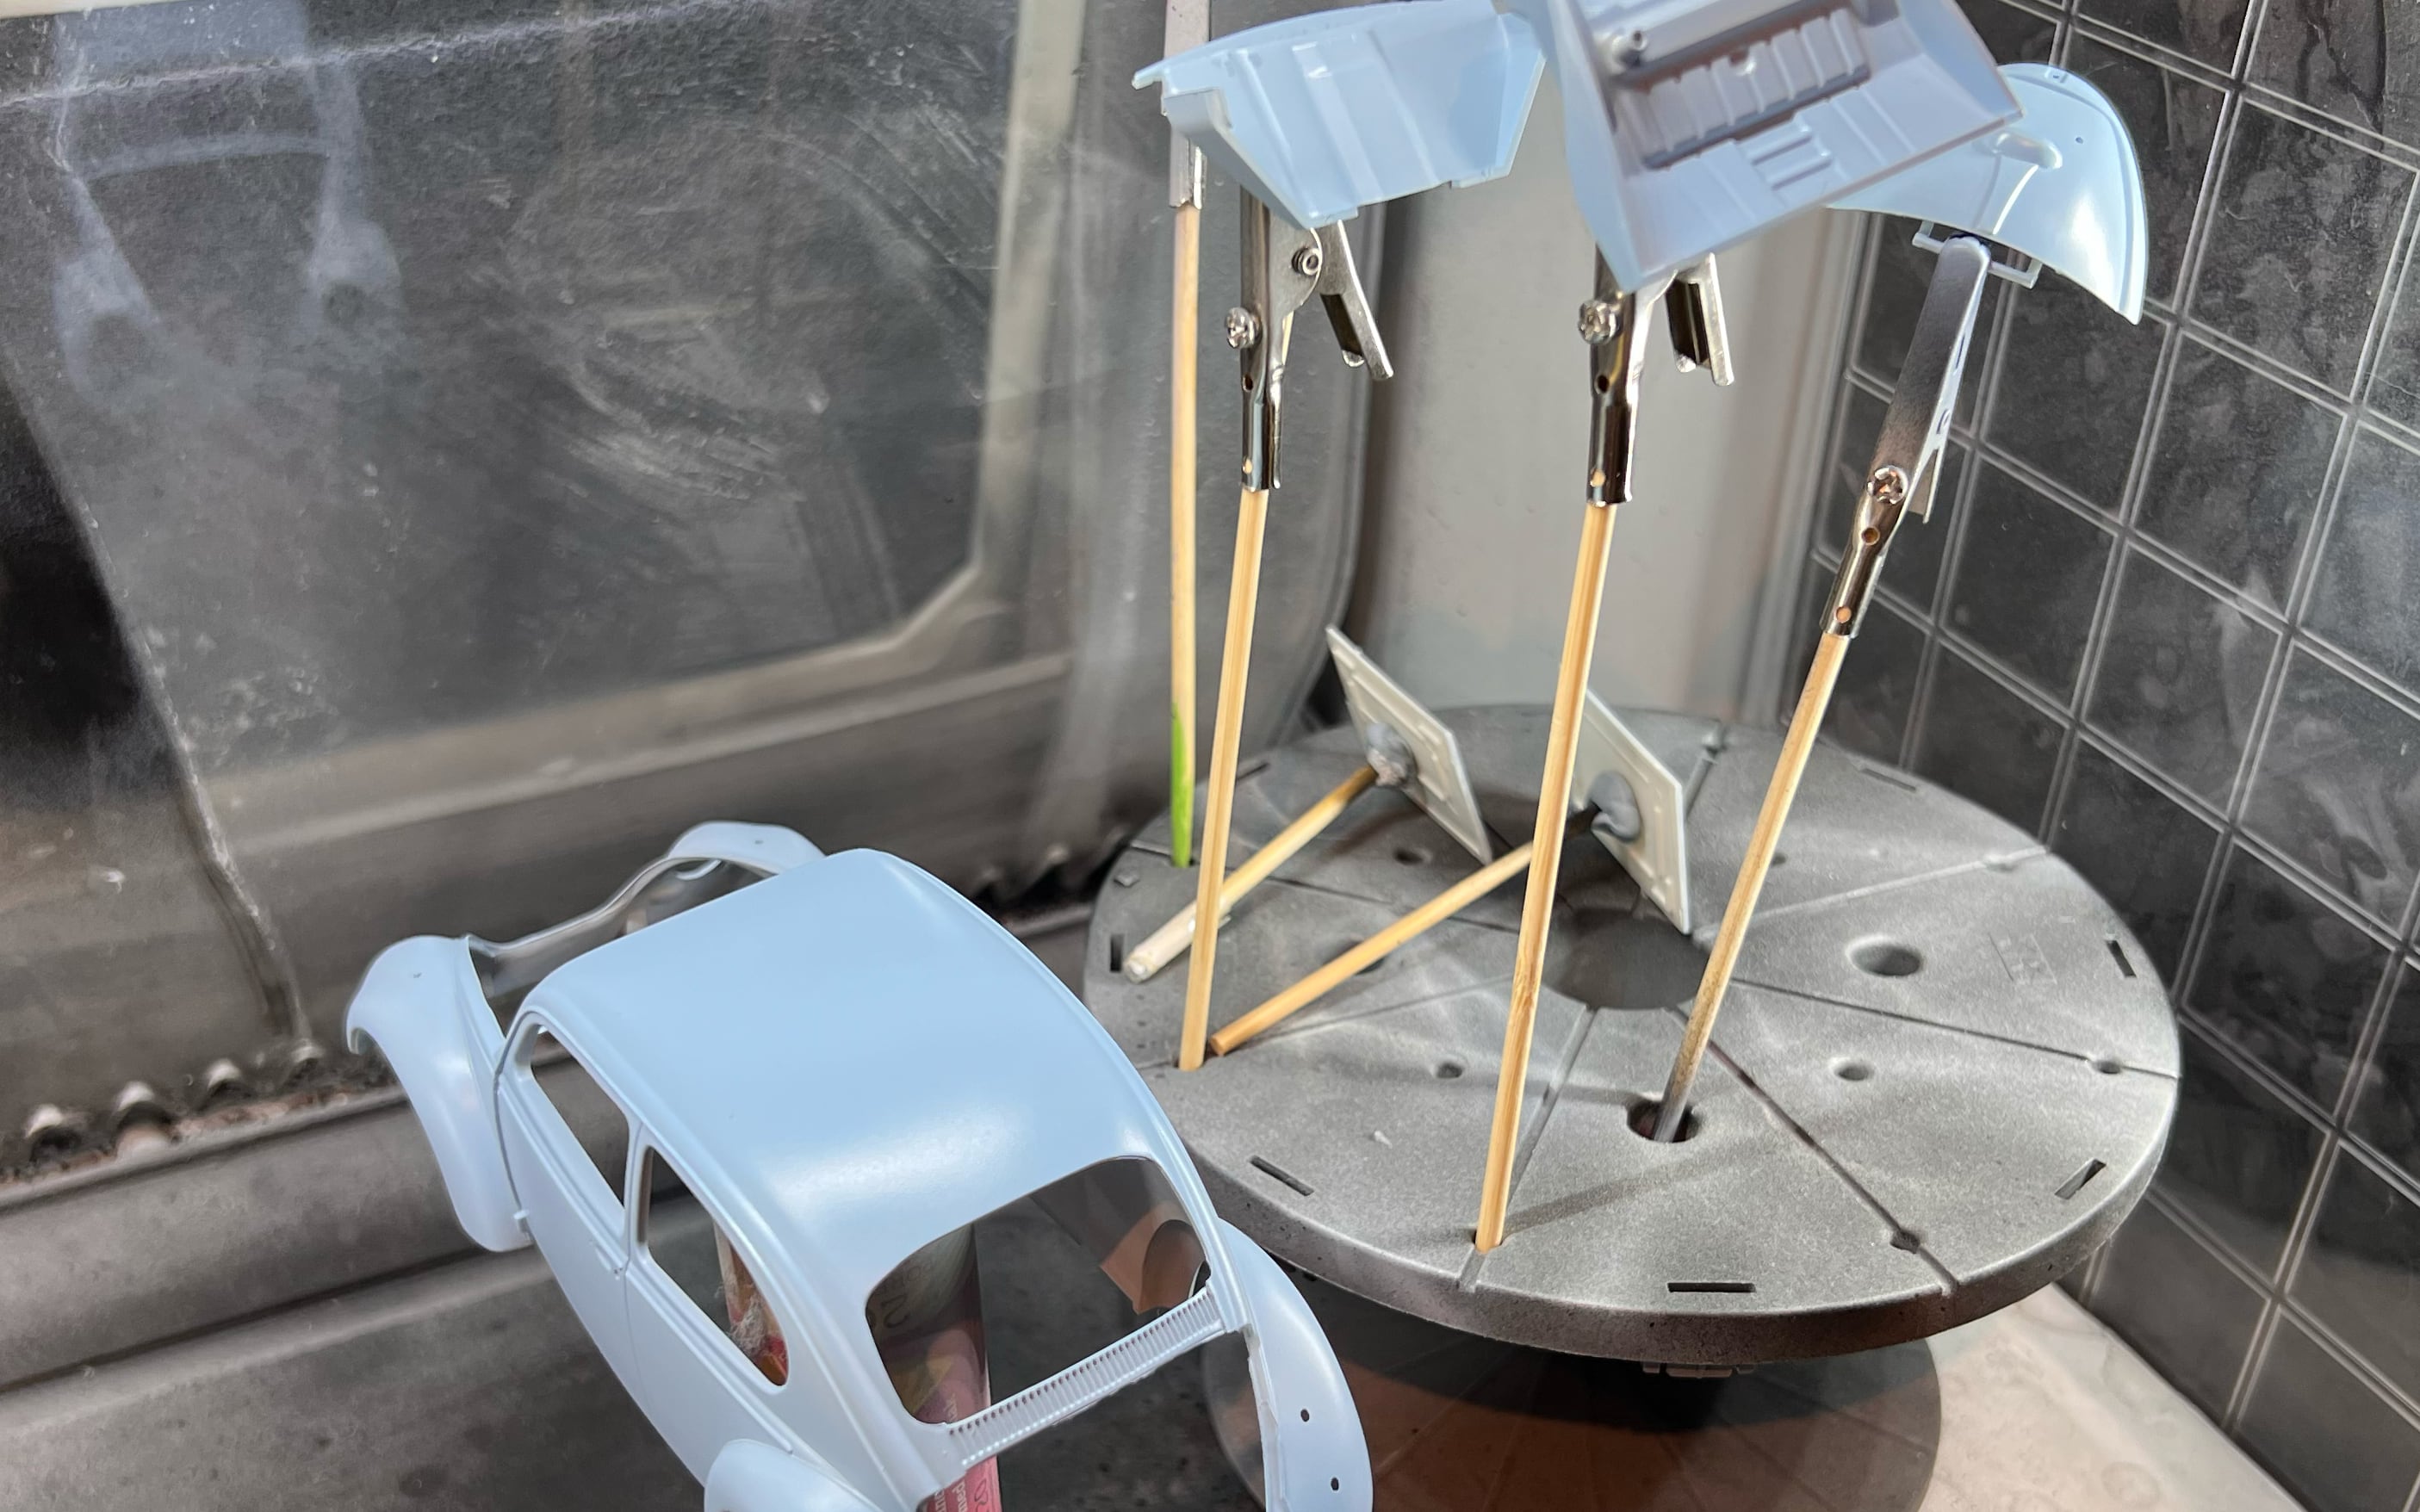
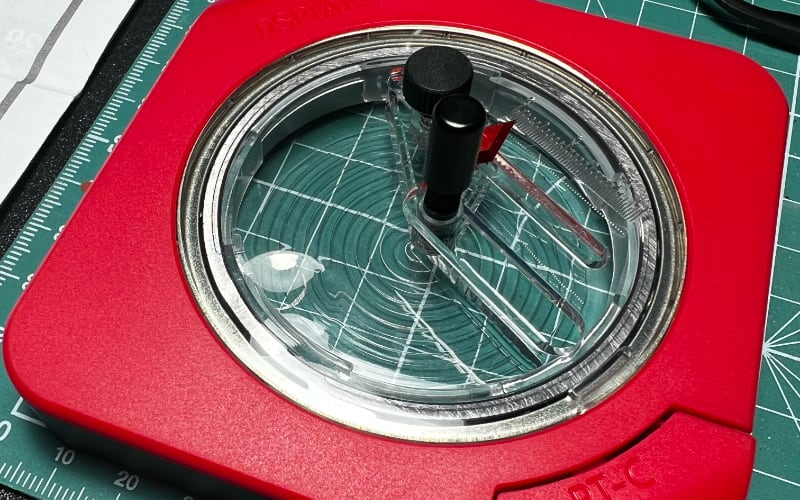
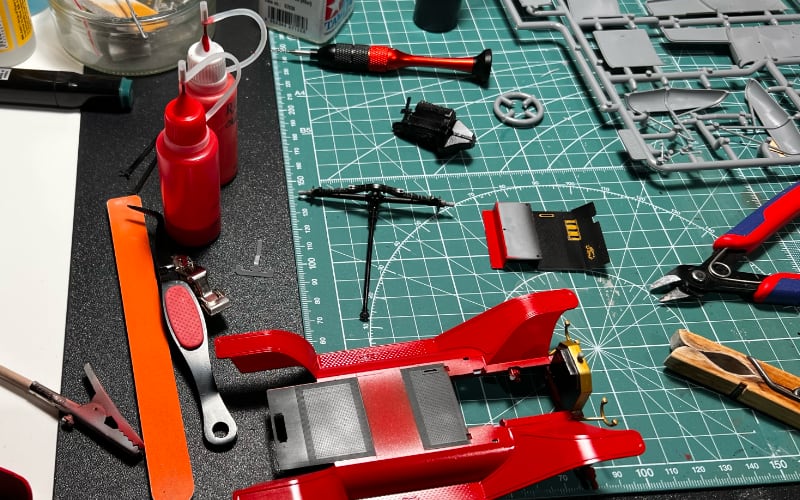
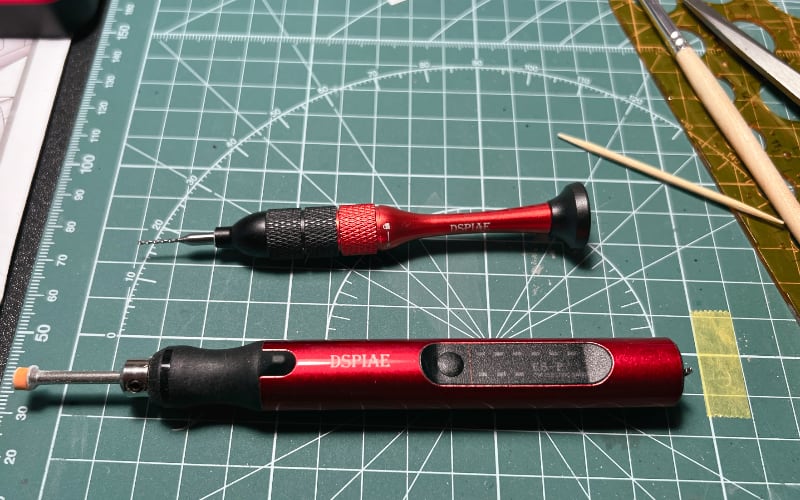
All images are original photographs taken by the project creator from actual scale models. However, the card images may not necessarily illustrate the specific tip on that card — they are selected randomly from the available photo collection for visual variety.
1
The Two-Cut Method with GodHand Nippers
GodHand Ultimate Nippers have razor-sharp edges that leave almost mark, but they are fragile and will chip if used on thick gates. Use the two-cut method: first cut the gate 2mm from the part with cheaper nippers like Tamiya 74123, then make the final flush cut with the GodHand. Never twist or pull the part off — always cut straight through. This works especially well on delicate Eduard photo-etch frets and Clear Prop Models ca parts.
🔍 Search for more
2
Panel Line Scribing with RB Productions Tools
For crisp panel line scribing, use tools from RB Productions like the Scribing Tool Set. Hold the tool vertically, apply light pressure, and draw it along the panel line. For deep scribing, use the thicker needles; for fine detail, use the thinner ones. Always check the depth of scribe marks with a magnifying glass to ensure consistency.
🔍 Search for more
3
Photo-Etch Bending with Eduard Jigs
Eduard's photo-etch bending jigs, like the PE Bending Jig Set, help create consistent, accurate bends. To use, place the PE part in the jig's , then use tweezers to bend the part along the jig's edge. For tight radii, use the smallest jig. Always bend PE parts after painting and before attachment to avoid damaging the part.
🔍 Search for more
4
Airbrush Needle Cleaning with Iwata's Brush Cleaner
Regular cleaning of your Iwata airbrush needle extends its lifespan. Soak the needle in Iwata's Brush Cleaner for 15 minutes, then scrub gently with a soft brush. Rinse with water and dry thoroughly before reassembly. This removes paint residue and prevents clogging.
🔍 Search for more
5
Sanding Stick Progression for Perfect Surface Finish
Achieve a perfect surface finish using a progression of sanding sticks like those from Arma Hobby or ICM. Start with 600 grit for heavy sanding, then progress to 800, 1000, and 1200 grit for fine sanding. Wet sand each grit on a flat surface, then wipe off residue with a damp cloth between grits. Finally, use a 2000 grit micro-mesh cloth for a mirror finish.
🔍 Search for more