⚠️
About This Content
These tips are automatically generated by an AI language model via Ollama. While the content aims to be helpful, it may contain errors or outdated information. Always verify advice against reliable sources before applying it to your projects.
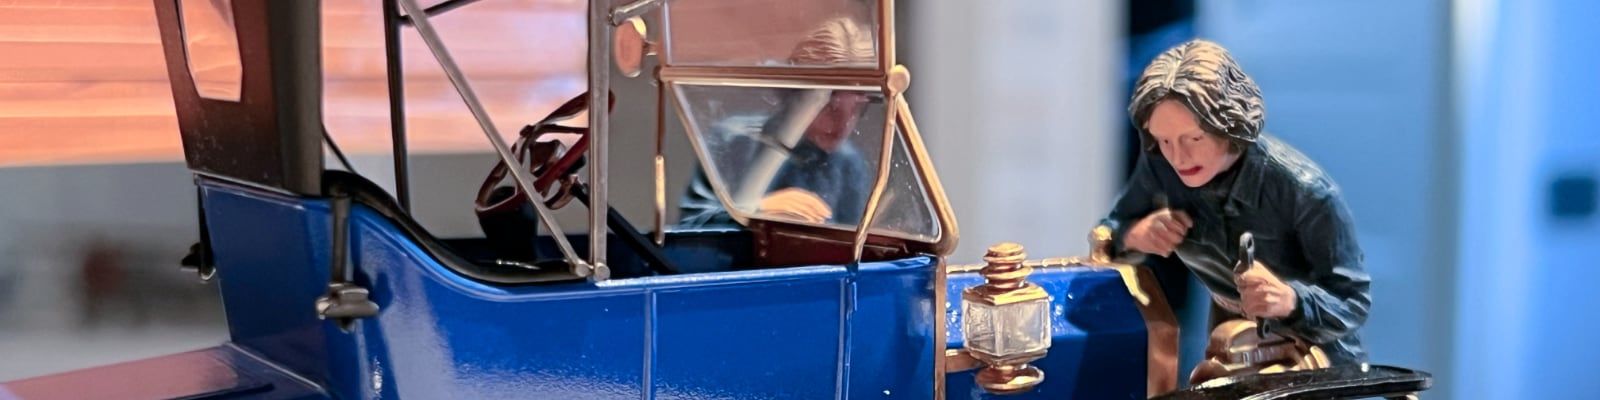
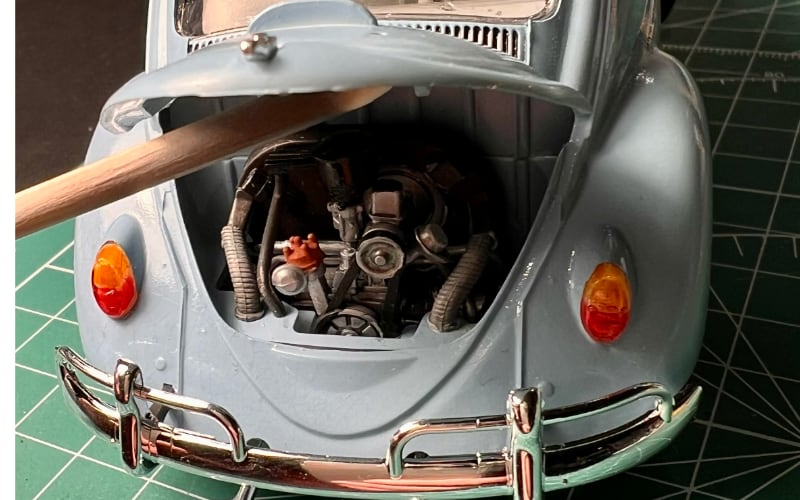
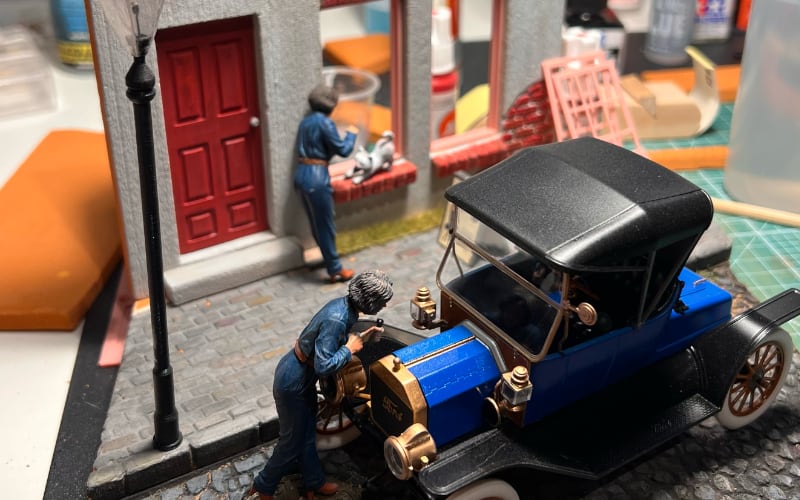
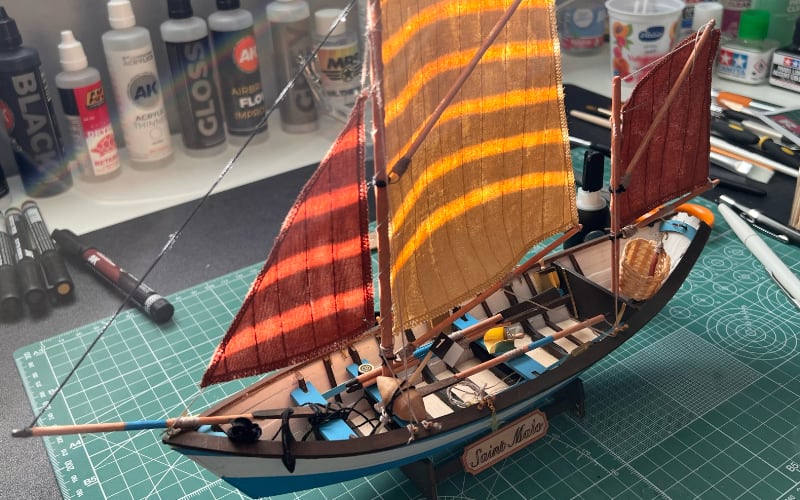
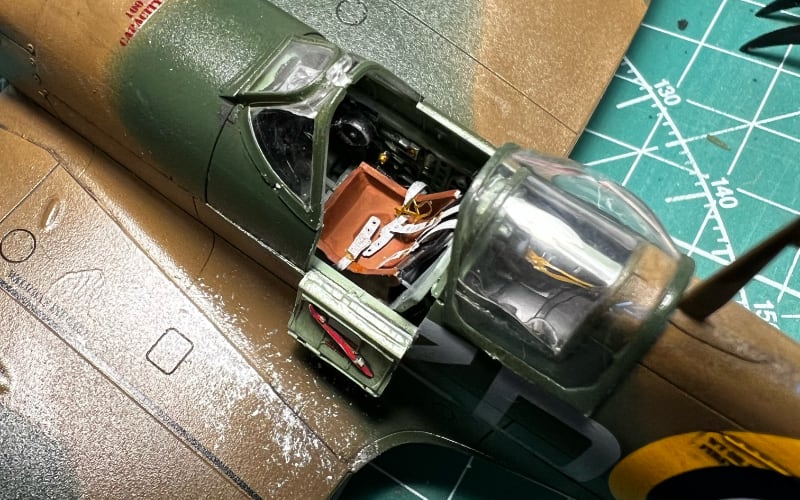
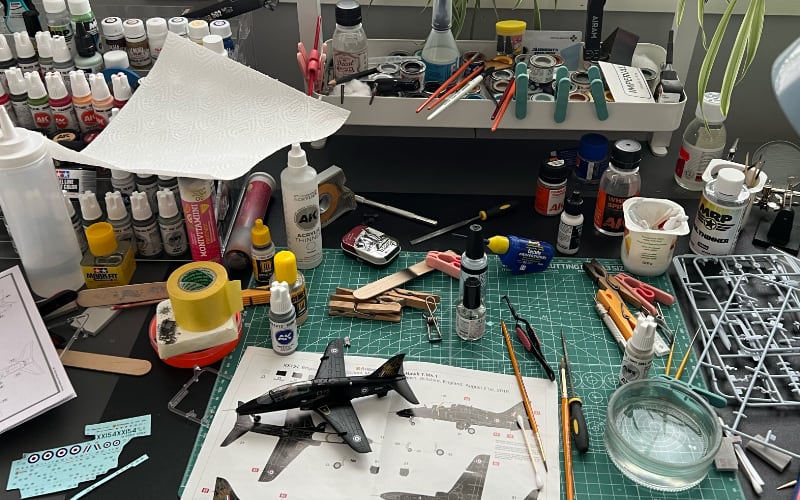
All images are original photographs taken by the project creator from actual scale models. However, the card images may not necessarily illustrate the specific tip on that card — they are selected randomly from the available photo collection for visual variety.
1
Fixing Silvered Decals After They Have Dried
Silvered decals happen when air is trapped under the decal. To fix after drying: apply Mr. Mark Softer generously over the decal, wait 10 minutes, then press gently with a damp cotton swab from the center outward to force air bubbles out. Repeat twice more with fresh solution. If silvering persists, carefully slit the decal film with a new blade in a crosshatch pattern, apply setting solution again, and press flat. Once fully settled, seal with a gloss coat. For stubborn cases, replace the decal and reapply with stronger solutions like Daco Strong.
🔍 Search for more
2
Removing Old Paint from Resin or Plastic Kits
To remove old paint from kits, first soften it with Tamiya Extra Thin Cement applied with a brush, let it sit for 5 minutes. Then use a hobby knife to scrape off the softened paint. For stubborn areas, use a dental pick or scribing tool to carefully dig out the paint. Once done, clean the kit with soap and water, allow to dry, then apply a light coat of Vallejo Airbrush Thinner to remove any remaining residue.
🔍 Search for more
3
Repairing Broken Photo-Etch Parts
To repair broken photo-etched parts, first use a pair of GodHand nippers to carefully clip the broken ends to square edges. Then, use a small amount of CA glue (like Loctite Super Glue Gel Control) to join the parts, applying pressure with tweezers. Allow to dry completely. If needed, use a photo-etch bending tool to gently align the part back to its original shape. Finally, clean up any excess glue with a hobby knife.
🔍 Search for more
4
Recovering a Clogged Airbrush
If your airbrush clogs, first try to backflush it with cleaner (like Iwata Airbrush Cleaner) and compressed air. If still clogged, disassemble the airbrush and soak the parts in Vallejo Airbrush Thinner for 15 minutes. Then, scrub the parts gently with a soft toothbrush, rinse with water, dry, and reassemble. If clogging persists, check your paint consistency (should be about 20% Vallejo Airbrush Thinner, 80% paint by volume) and pressure (around 20-30 psi).
🔍 Search for more
5
Avoiding Frost from Rattle Cans
To avoid frost from rattle cans, first shake the can vigorously for at least 2 minutes. Then, hold the can upright about 6 inches from the model, spray in short, even bursts, allowing the paint to dry for a few seconds between each burst. Also, ensure the model is at room temperature (around 70°F/21°C) before painting to prevent moisture condensation. If frosting occurs, wipe it off immediately with a damp cloth, then allow the paint to dry completely.
🔍 Search for more