⚠️
About This Content
These tips are automatically generated by an AI language model via Ollama. While the content aims to be helpful, it may contain errors or outdated information. Always verify advice against reliable sources before applying it to your projects.
All images are original photographs taken by the project creator from actual scale models. However, the card images may not necessarily illustrate the specific tip on that card — they are selected randomly from the available photo collection for visual variety.
1
Selecting the Right Paint Type for Airbrushing
For most model applications, Vallejo Airbrush Thinner and Vallejo Model Air paints are ideal due to their consistency and pigments. Acrylics like Vallejo are water-based, non-toxic, and easy to clean up. Enamels like Tamiya offer rich colors but have stronger solvents. Lacquers like Alclad II are great for metallics but require specific thinners. Always test your paints and thinners mixed together before use.
🔍 Search for more
2
Choosing the Right Sandpaper Grits for Different Stages
Start with 120-150 grit sandpaper for initial filling and shaping of putty. Proceed with 220-240 grit for general smoothing after sanding seams. For final preparation before painting, use 400-600 grit for a smooth surface. Wet sanding with a lubricant like soap water or Tamiya Polishing Compound prevents swirl marks. Always sand perpendicular to the panel lines.
🔍 Search for more
3
Filling Gaps with Vallejo Plastic Putty
Vallejo Plastic Putty fills gaps and holes perfectly on plastic models. Apply a small amount with a toothpick or applicator, let it set for 10 minutes, then shape with a wet brush. For larger gaps, apply Vallejo Thick Putty first, let it set for 30 minutes, then fill with Plastic Putty. Sand smooth with 120-150 grit, then 220-240 grit after drying.
🔍 Search for more
4
Choosing Between Photo-Etch vs Resin Detail Parts
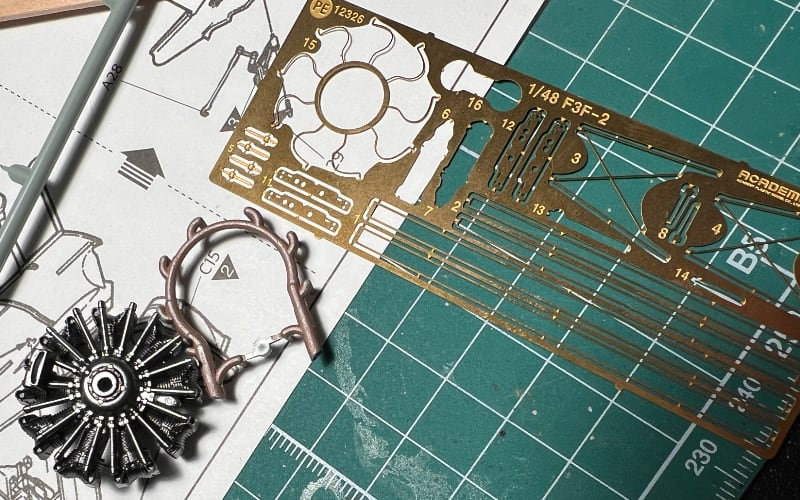
Photo-etch parts from Eduard or ICM offer intricate detail but require careful bending and adhering. Use Eduard's dedicated tweezers for precise manipulation, and super glue for adhesion. Resin parts from brands like Clear Prop Models provide easier handling but may require some cleanup. Choose based on the level of detail desired versus ease of assembly.
🔍 Search for more
5
Decal Setting Solutions: Micro Set/Sol vs Mr. Mark Softer
Micro Set/Sol is a classic decal setting solution for use before applying decals. It promotes adhesion and helps decals conform to curves. Mr. Mark Softer is a gentle decal softener used after decals have dried to make them fully conform to the surface. For best results, use Micro Set/Sol first, then apply decals, and finally use Mr. Mark Softer to ensure perfect conformity.
🔍 Search for more