⚠️
About This Content
These tips are automatically generated by an AI language model via Ollama. While the content aims to be helpful, it may contain errors or outdated information. Always verify advice against reliable sources before applying it to your projects.
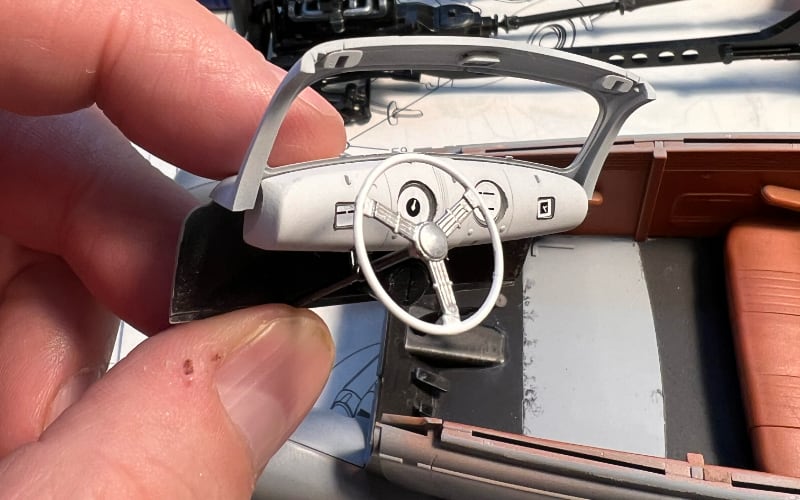
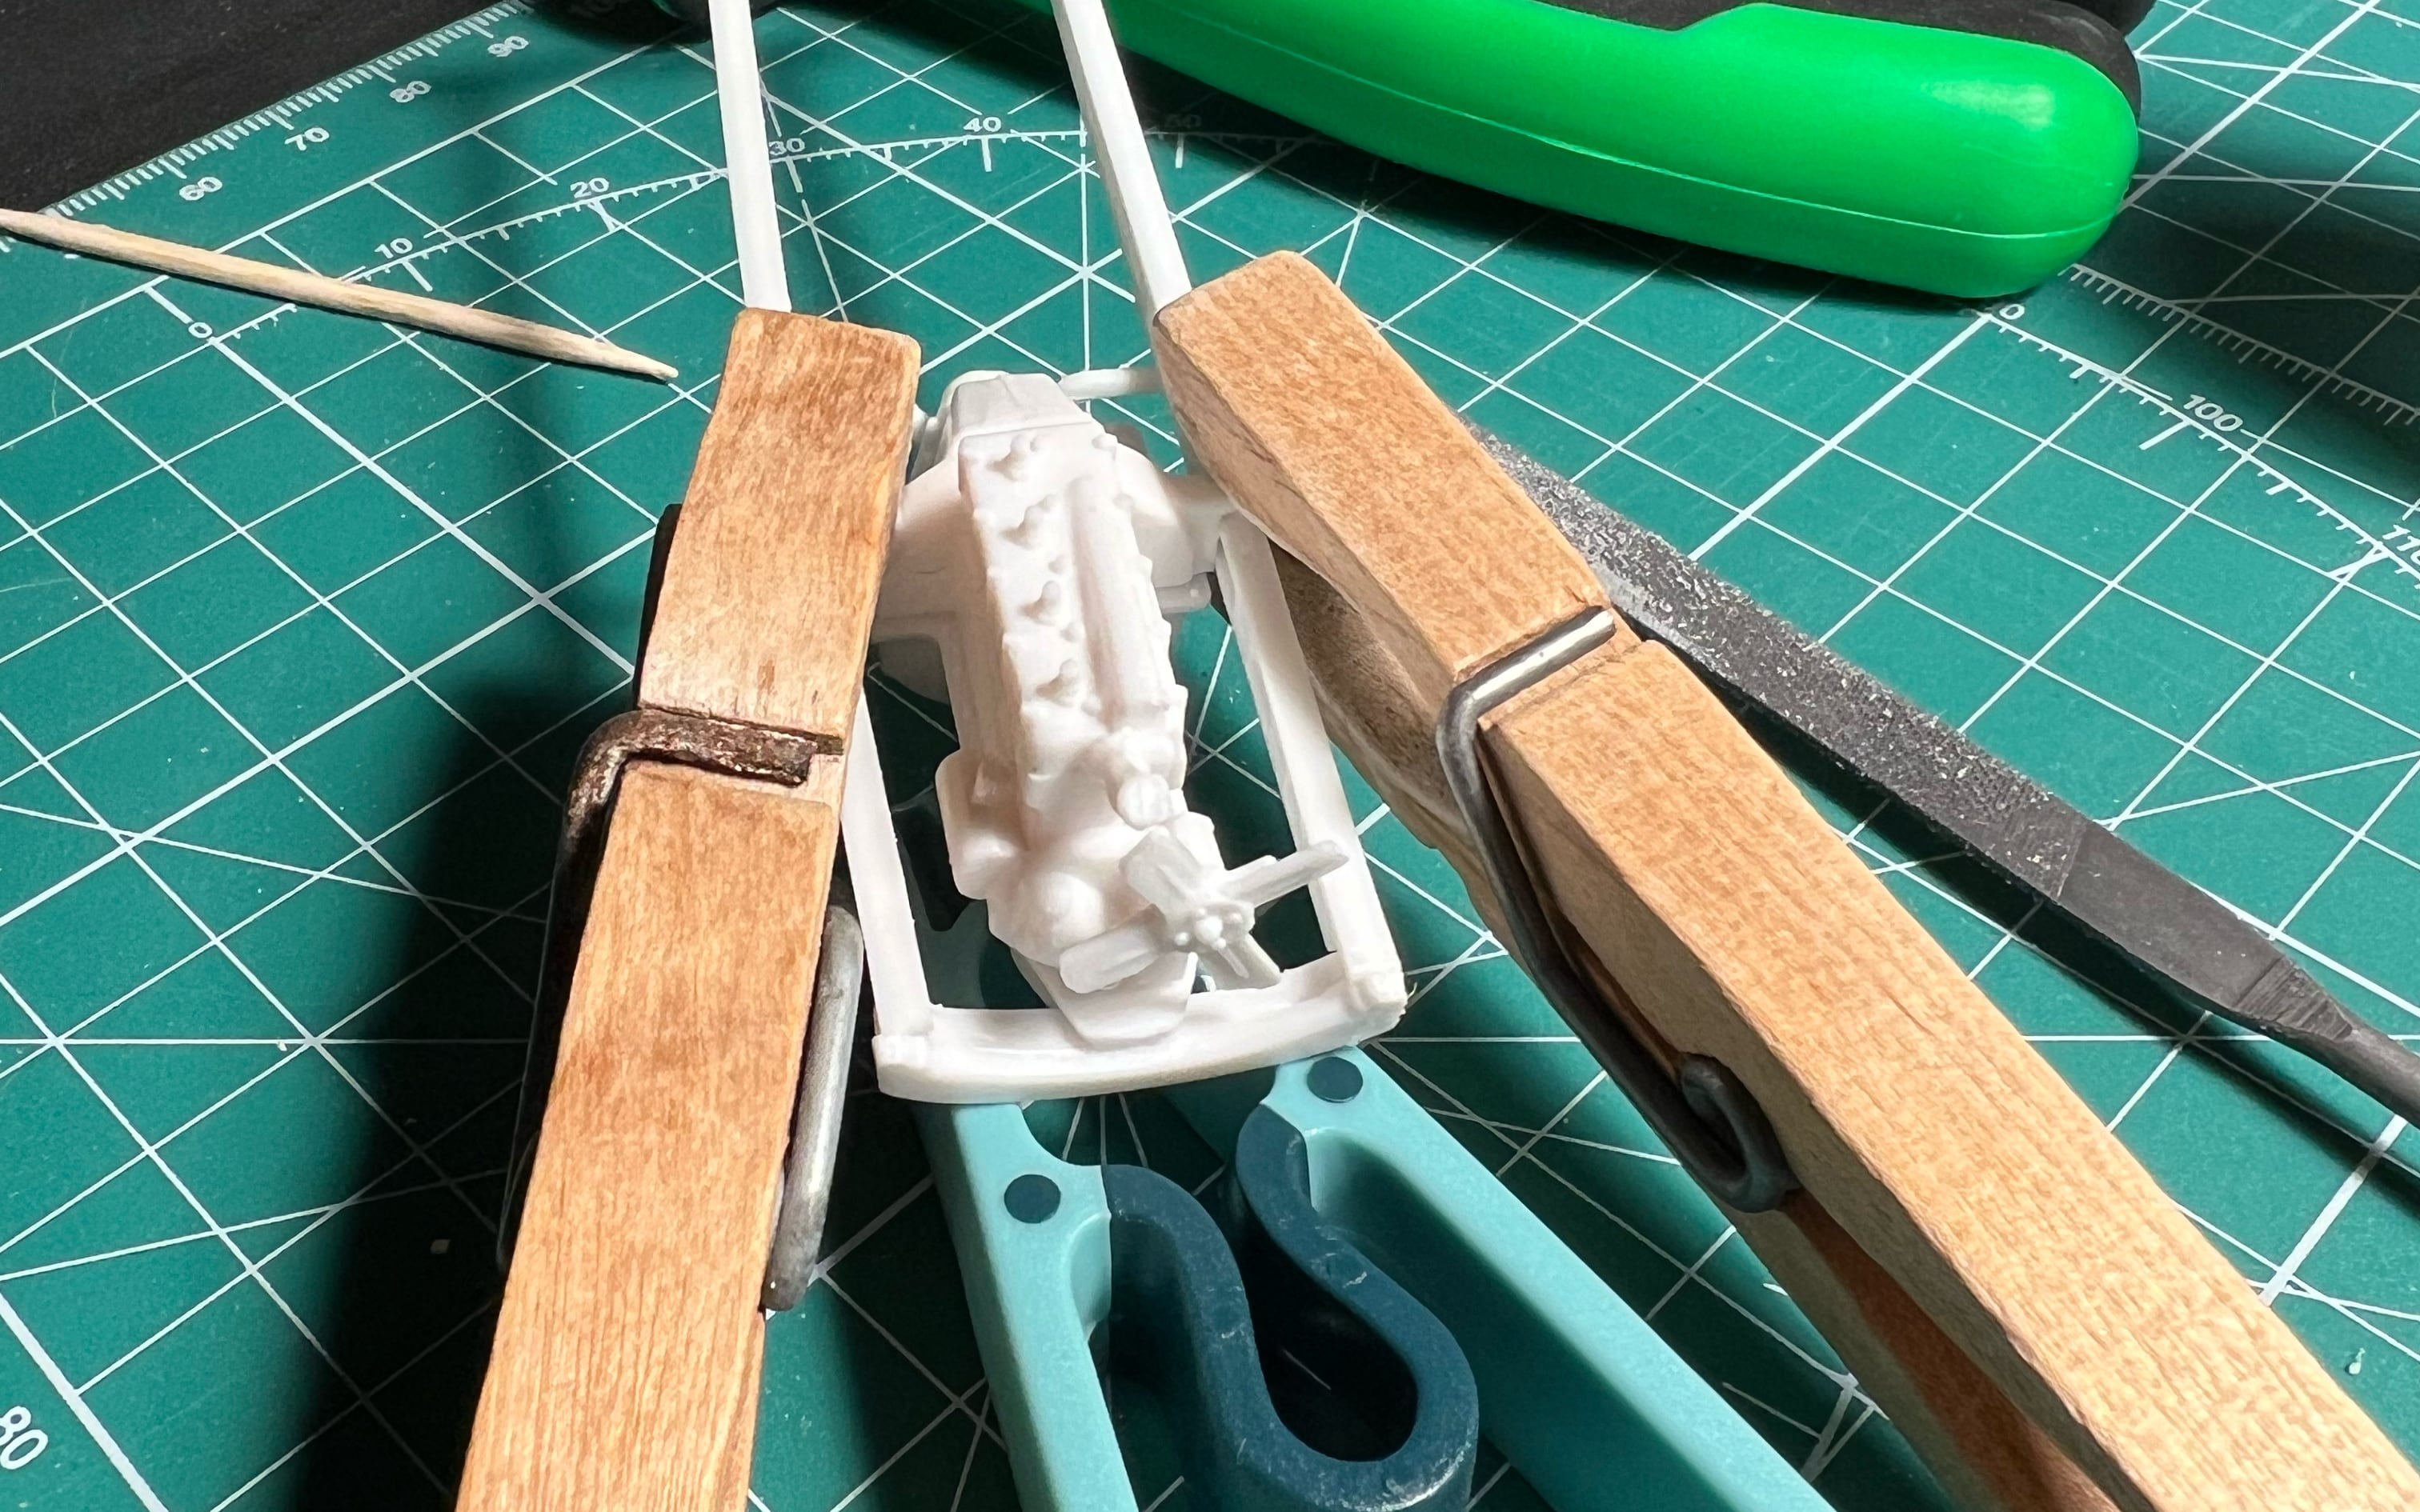
All images are original photographs taken by the project creator from actual scale models. However, the card images may not necessarily illustrate the specific tip on that card — they are selected randomly from the available photo collection for visual variety.
1
Assembling Trumpeter Multi-Part Gun Barrels
For Trumpeter's multi-part gun barrels, start by painting the individual parts. Align them dry, then use super glue (CA) for a strong bond. Apply a small amount to the mating surfaces, use tweezers to hold the parts together, and allow 15 seconds for initial bond. Then clamp gently and let cure for 60 seconds.
🔍 Search for more
2
Using Jigs for AFV Club Wing Alignment
When assembling AFV Club kits with multi-part wings, use a jig for precise alignment. Cut two pieces of cardboard, shape them to fit the wing roots, and slot them together. Apply Tamiya Extra Thin Cement to one side of the root, align the wing halves on the jig, clamp gently, and let cure for 30 minutes.
🔍 Search for more
3
Installing Eduard Photo-Etch Parts
For Eduard photo-etch parts, use a dedicated bending tool to shape them carefully. Apply a small amount of CA glue to the attachment point on the kit, immediately place the photo-etch part, and let cure for 15 seconds. Use tweezers to hold it in place until fully cured. Seal any gaps with Vallejo Plastic Putty.
🔍 Search for more
4
Working with Clear Prop Models Resin Conversion Kits
With Clear Prop Models resin conversion kits, use a new X-Acto blade to remove the casting block. Carefully clean up the parts with a needle file and 400 grit sandpaper. For tricky parts, use a dental pick to remove any remaining resin. Glue with CA, clipping the excess after curing.
🔍 Search for more
5
Assembling Individual Track Links vs. Vinyl vs. Workable
For individual track links, use CA glue for each link, allowing 15 seconds cure time between links. For vinyl tracks, cut the links apart, align, and use CA glue for a few links at a time, clipping excess after curing. For workable tracks, simply cut and align, no glue needed. Always dry-fit first, then cement.
🔍 Search for more