⚠️
About This Content
These tips are automatically generated by an AI language model via Ollama. While the content aims to be helpful, it may contain errors or outdated information. Always verify advice against reliable sources before applying it to your projects.
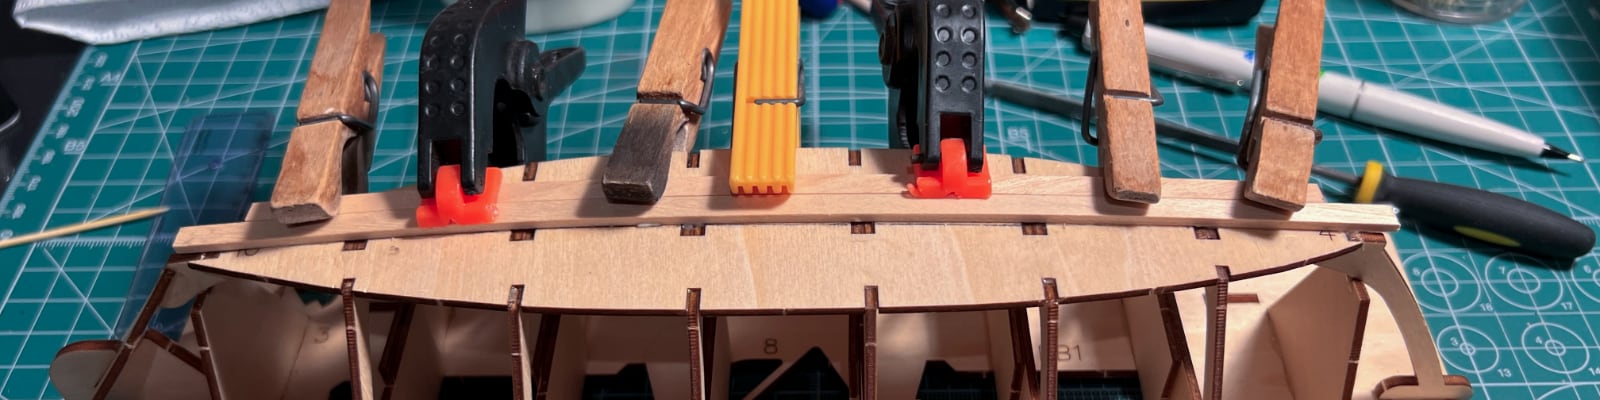
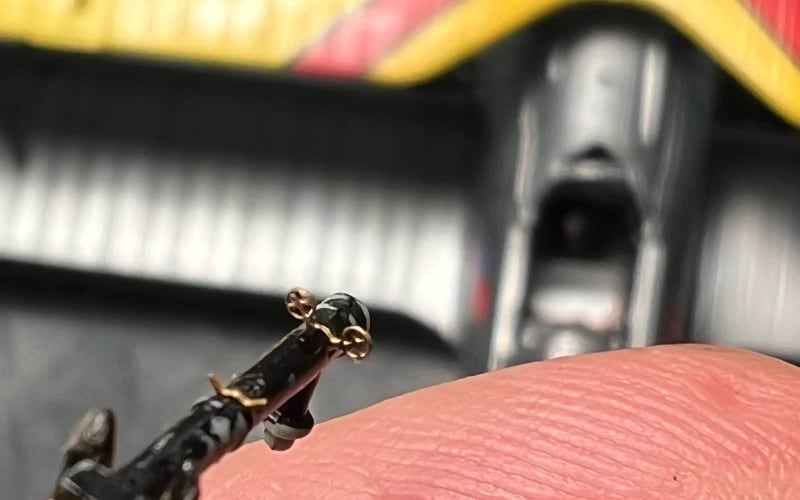
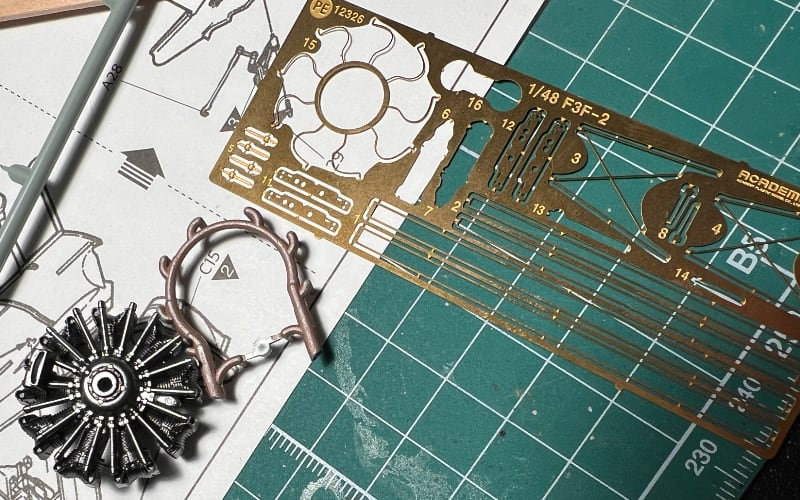
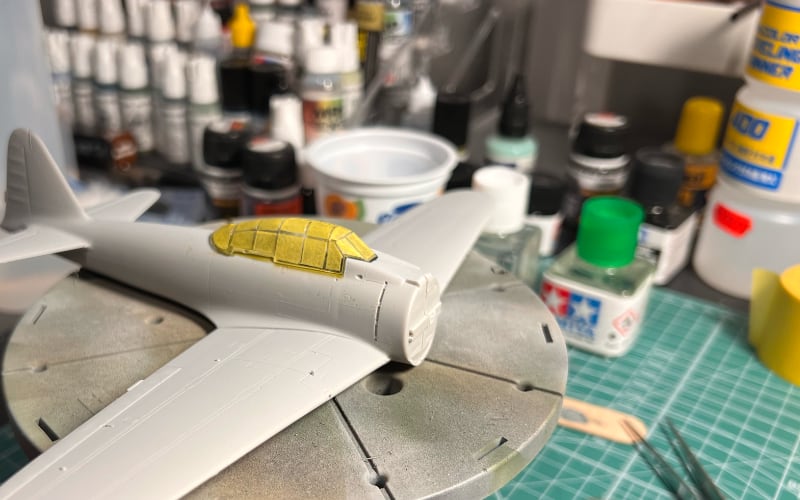
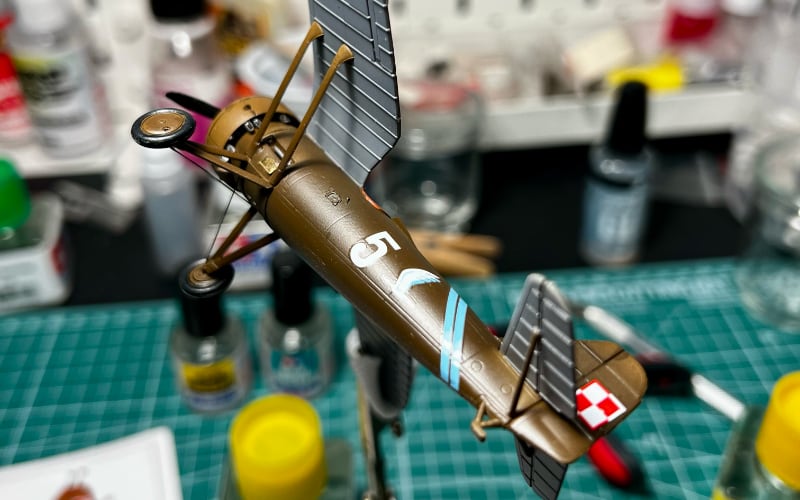
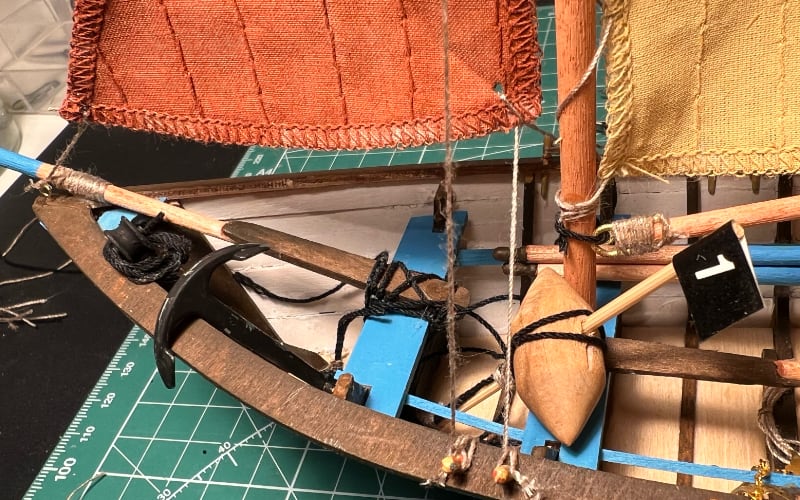
All images are original photographs taken by the project creator from actual scale models. However, the card images may not necessarily illustrate the specific tip on that card — they are selected randomly from the available photo collection for visual variety.
1
Selecting the Right Paint for Your Project
Choose between Vallejo Acrylic, Vallejo Model Air, or Tamiya Acrylics for their ease of use, vibrant colors, and fast drying times. For enamel or lacquer finishes, use AMMO by Mig Jimenez Acrylic Paints or Humbrol Enamels, but expect slower drying times and more solvents. Vallejo Metal Color or Alclad II Aerosols provide excellent metal finishes. Always thin paints with their respective thinners (e.g., Vallejo Airbrush Thinner) for optimal flow.
🔍 Search for more
2
Choosing the Right Sandpaper Grits for Each Stage
For initial sanding after filling, use 120-150 grit sandpaper or sanding sticks to remove excess filler and prepare the surface. For smoothing and preparing for paint, switch to 240-320 grit, then finish with 400-600 grit for a smooth surface. For fine touch-ups, use 800-1000 grit wet or dry sandpaper. Always wet-sand with water or appropriate lubricant to prevent clogging and achieve the best results.
🔍 Search for more
3
Filling Gaps: Tamiya vs Vallejo Putty
For small gaps and scratches, use Tamiya Putty, which dries fast and can be sanded in 30 minutes. For larger gaps or panel lines, Vallejo Plastic Putty offers better coverage and can be applied thicker. Both can be used with Vallejo Retarder Medium to extend drying times. To make your own gap filler, mix super glue with baking soda, apply with a fine brush, let dry, and sand smooth. Always test on spare parts first.
🔍 Search for more
4
Photo-Etch vs Resin Detail Parts
Photo-etch (PE) from Eduard, ICM, or other brands offers thin, highly detailed parts, perfect for replacing kit details. However, PE requires bending, cutting, and careful handling. Resin detail sets (e.g., Lion Roar, Cyber-Hobby) offer pre-shaped, high-quality parts but can be more expensive. Consider PE for simple replacement details, and resin for complex shapes or when quality is paramount.
🔍 Search for more
5
Decal Setting Solutions: Micro Set/Sol vs Mr. Mark Softer
For standard decals, use Micro Set (soaking solution) followed by Micro Sol (setting solution) to help decals conform and minimize silvering. For difficult-to-place or complex decals, use Mr. Mark Softer, which penetrates better and helps decals lie flat. Apply Micro Set or Mr. Mark Softer with a fine brush, let soak for 10-20 seconds, then carefully apply Micro Sol to set the decal. Always test on spare decals first.
🔍 Search for more