⚠️
About This Content
These tips are automatically generated by an AI language model via Ollama. While the content aims to be helpful, it may contain errors or outdated information. Always verify advice against reliable sources before applying it to your projects.
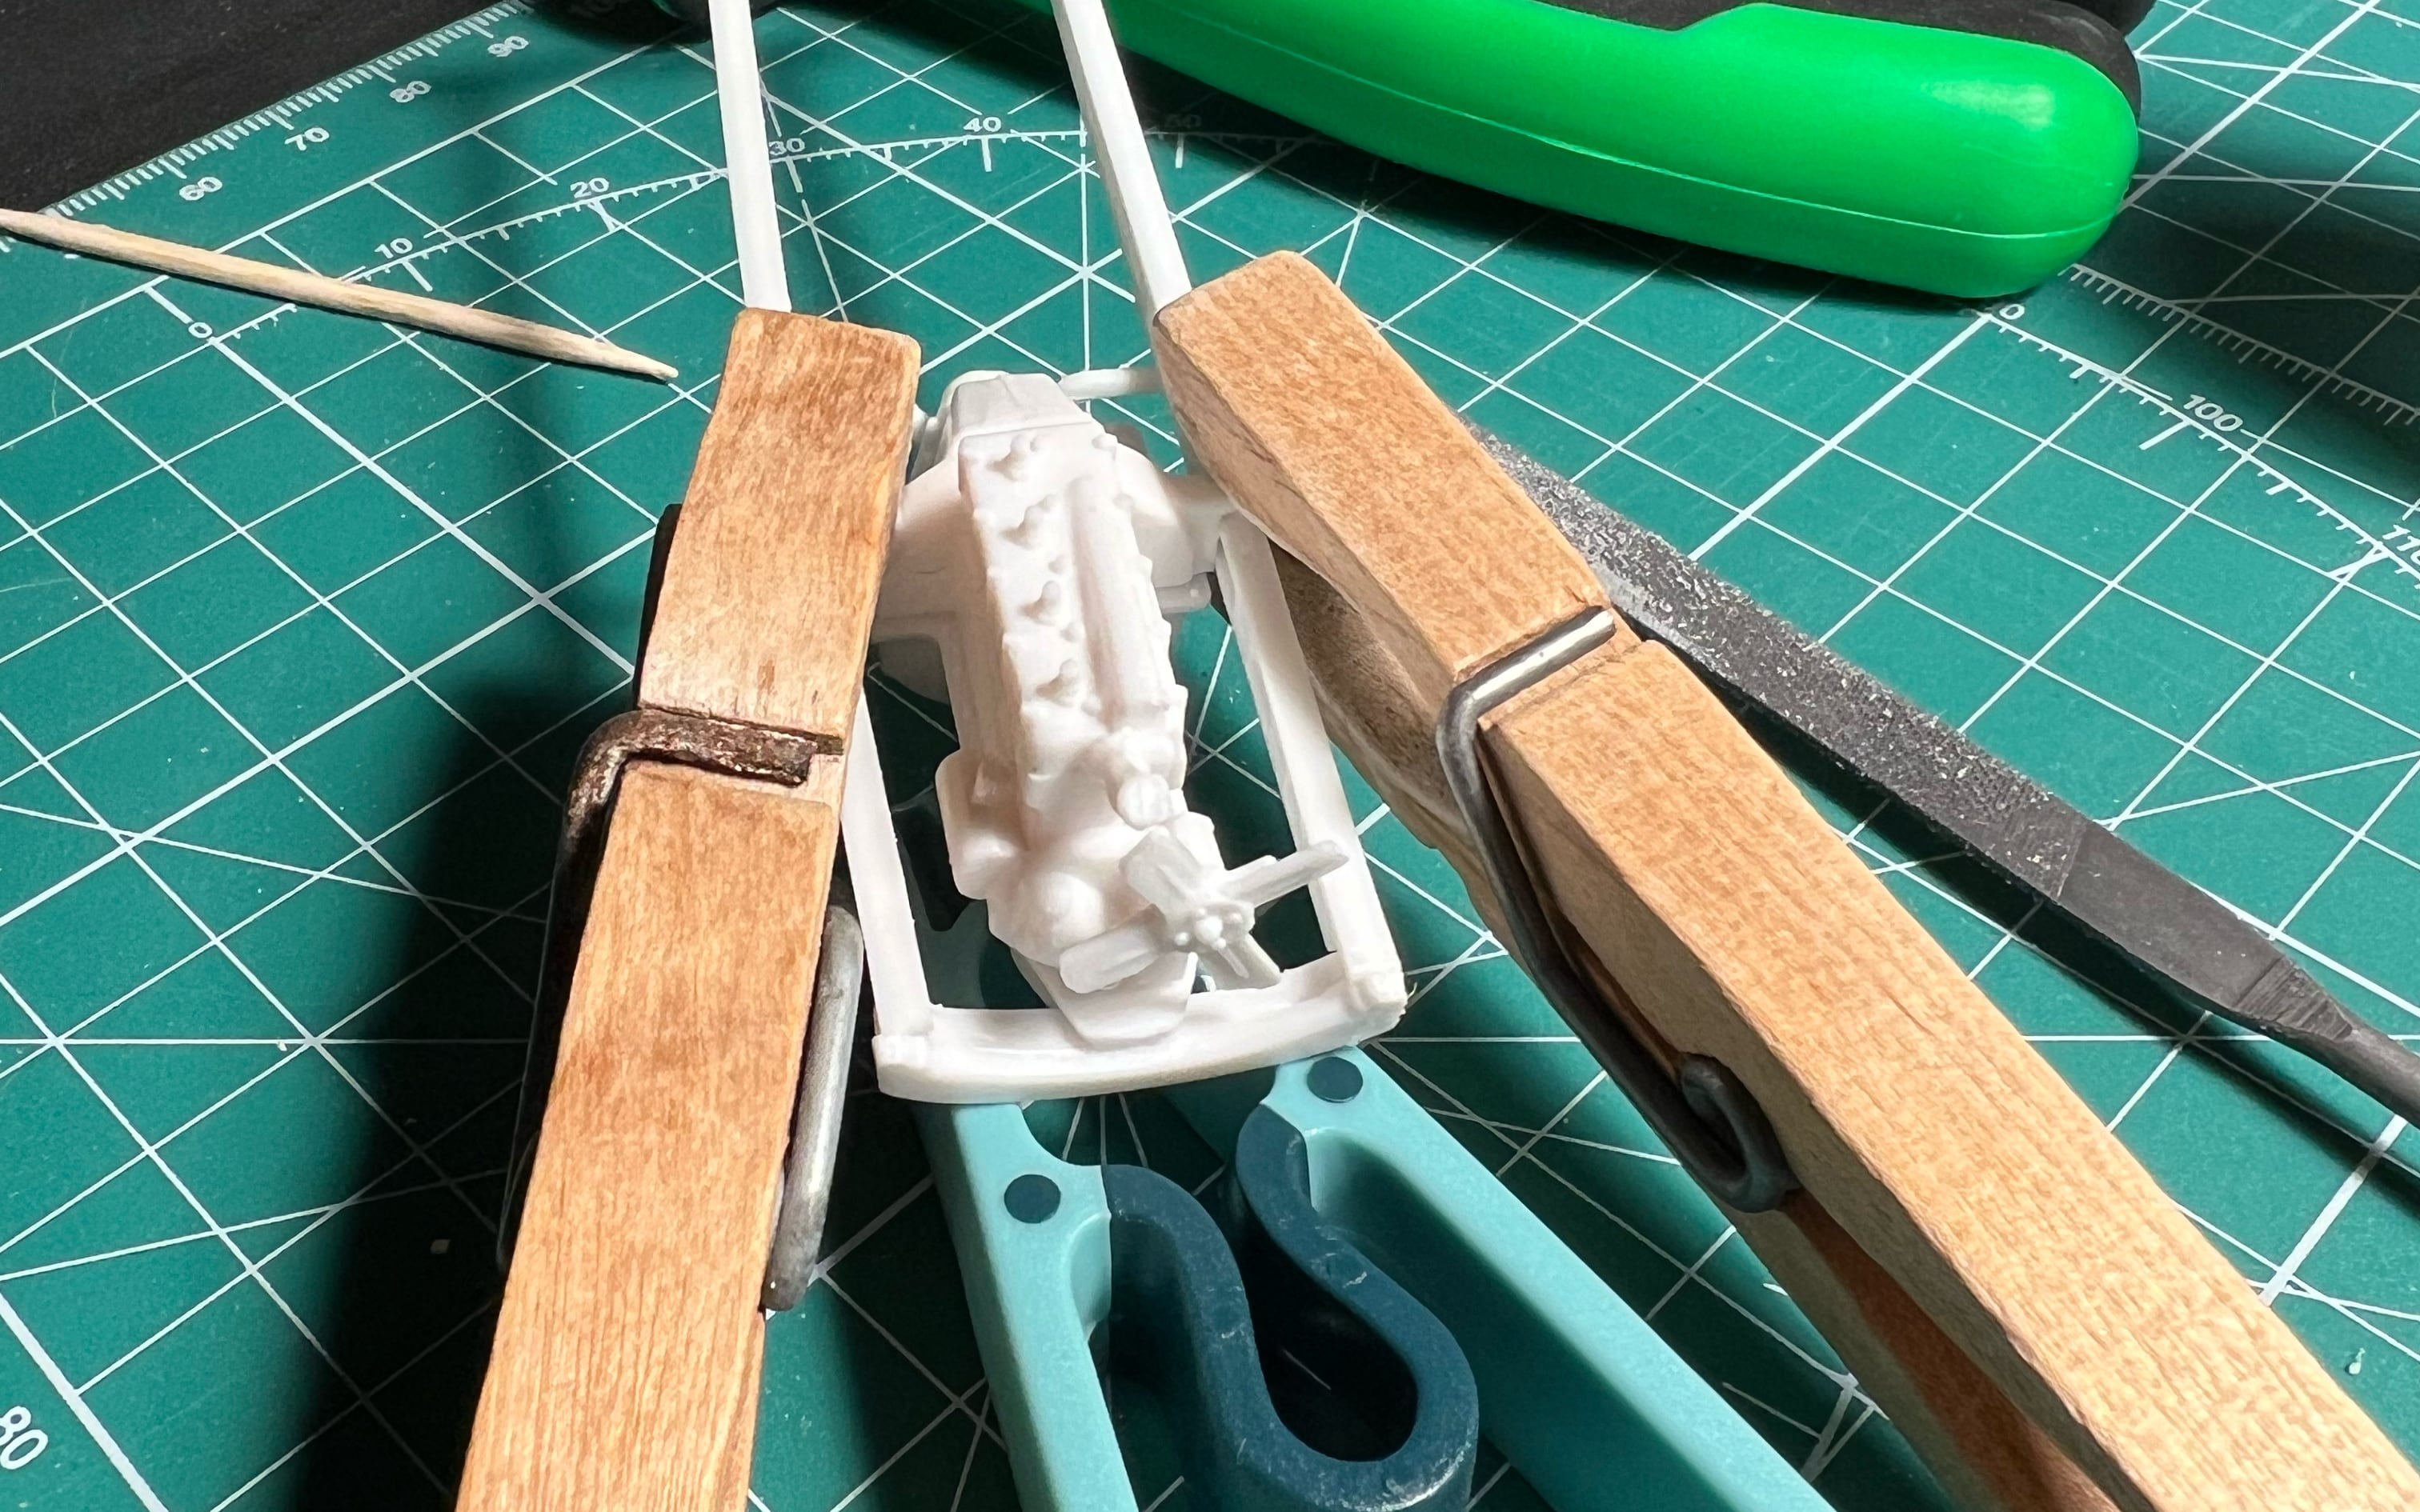
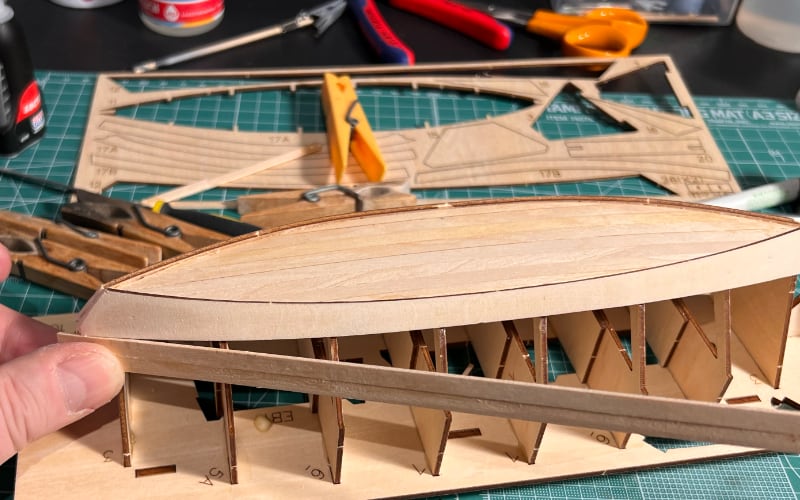
All images are original photographs taken by the project creator from actual scale models. However, the card images may not necessarily illustrate the specific tip on that card — they are selected randomly from the available photo collection for visual variety.
1
Assembling Trumpeter Multi-Part Gun Barrels
For Trumpeter's multi-part gun barrels (e.g., in their 1/35 tanks), use a pin vise to drill 1mm holes in the barrel ends and receiver. Glue parts together with Tamiya Extra Thin Cement, then insert brass rod (0.5mm) into the holes to ensure alignment. Allow 24 hours curing before sanding and painting.
🔍 Search for more
2
Aligning Wings with Jigs using AFV Club Kits
AFV Club wing assemblies can be tricky. Before gluing, create a jig using a piece of stiff plastic or wood. Mark points for each wing root where it meets the fuselage, then connect them with a straight line. Glue wings to jig, align with fuselage, and check for square. Once satisfied, glue wings to fuselage using Tamiya Extra Thin Cement, ensuring they stay aligned until cured.
🔍 Search for more
3
Installing Eduard Photo-Etch Parts
With Eduard's photo-etch sets, use tweezers to bend parts on their bending tool. Apply a small amount of CA glue to the part, let it tack, then attach to the model. Once attached, use a hairdryer on low heat to gently warm and melt the CA glue for a stronger bond. After cooling, apply a drop of Vallejo Acrylic Thinner to remove any excess glue.
🔍 Search for more
4
Working with Clear Prop Models Resin Conversion Kits
Clear Prop Models resin kits often have delicate parts. Use a sharp hobby knife to carefully cut parts from the sprue. Soak parts in warm water to remove mold lines, then gently scrub with a soft brush. Dry-fit parts, ensuring a good fit. Use super glue (e.g., Loctite Gel Control) for assembly, applying sparingly and allowing 24 hours cure time.
🔍 Search for more
5
Assembling Individual Track Links vs Vinyl vs Workable
For individual track links, use Tweezers to apply a tiny dot of Tamiya Extra Thin Cement between each link. Allow links to cure, then gently bend them around a round object (e.g., a bottle cap) to create the track's curve. For vinyl tracks, follow the same process, but use a sharp hobby knife to cut tracks to length. For workable tracks, apply liquid cement along the track's length, let it tack, then bend and shape while wet.
🔍 Search for more